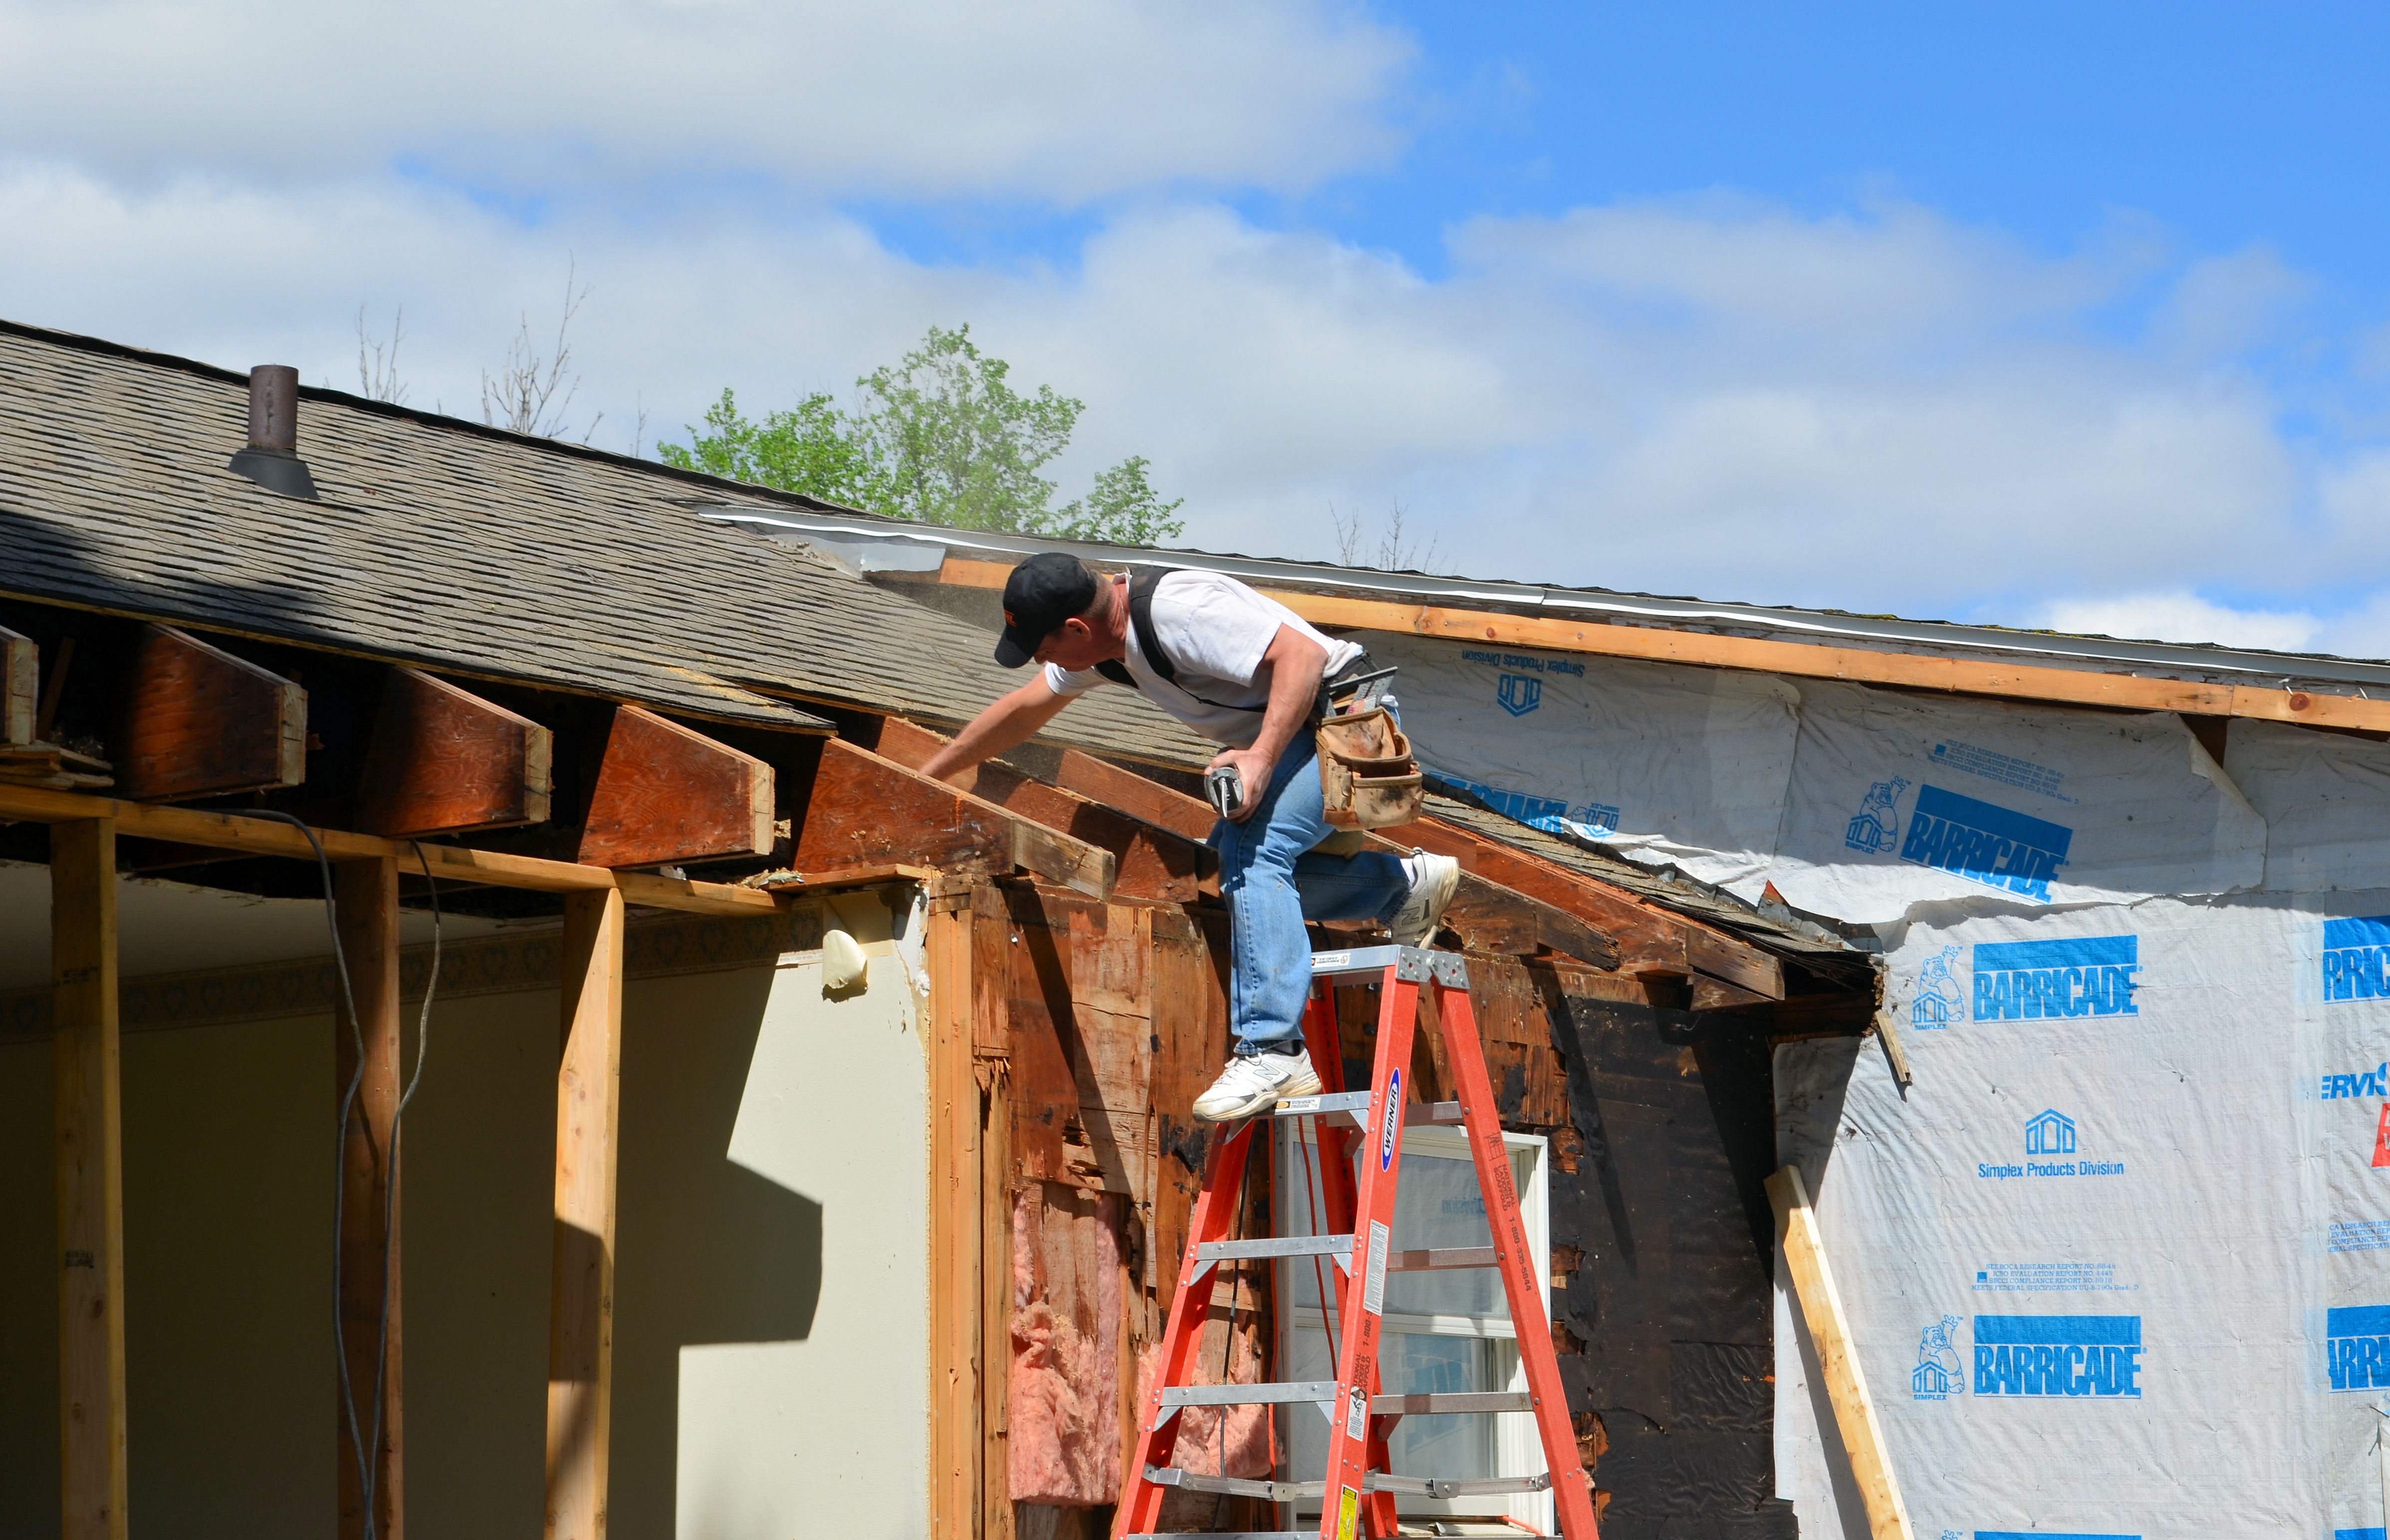
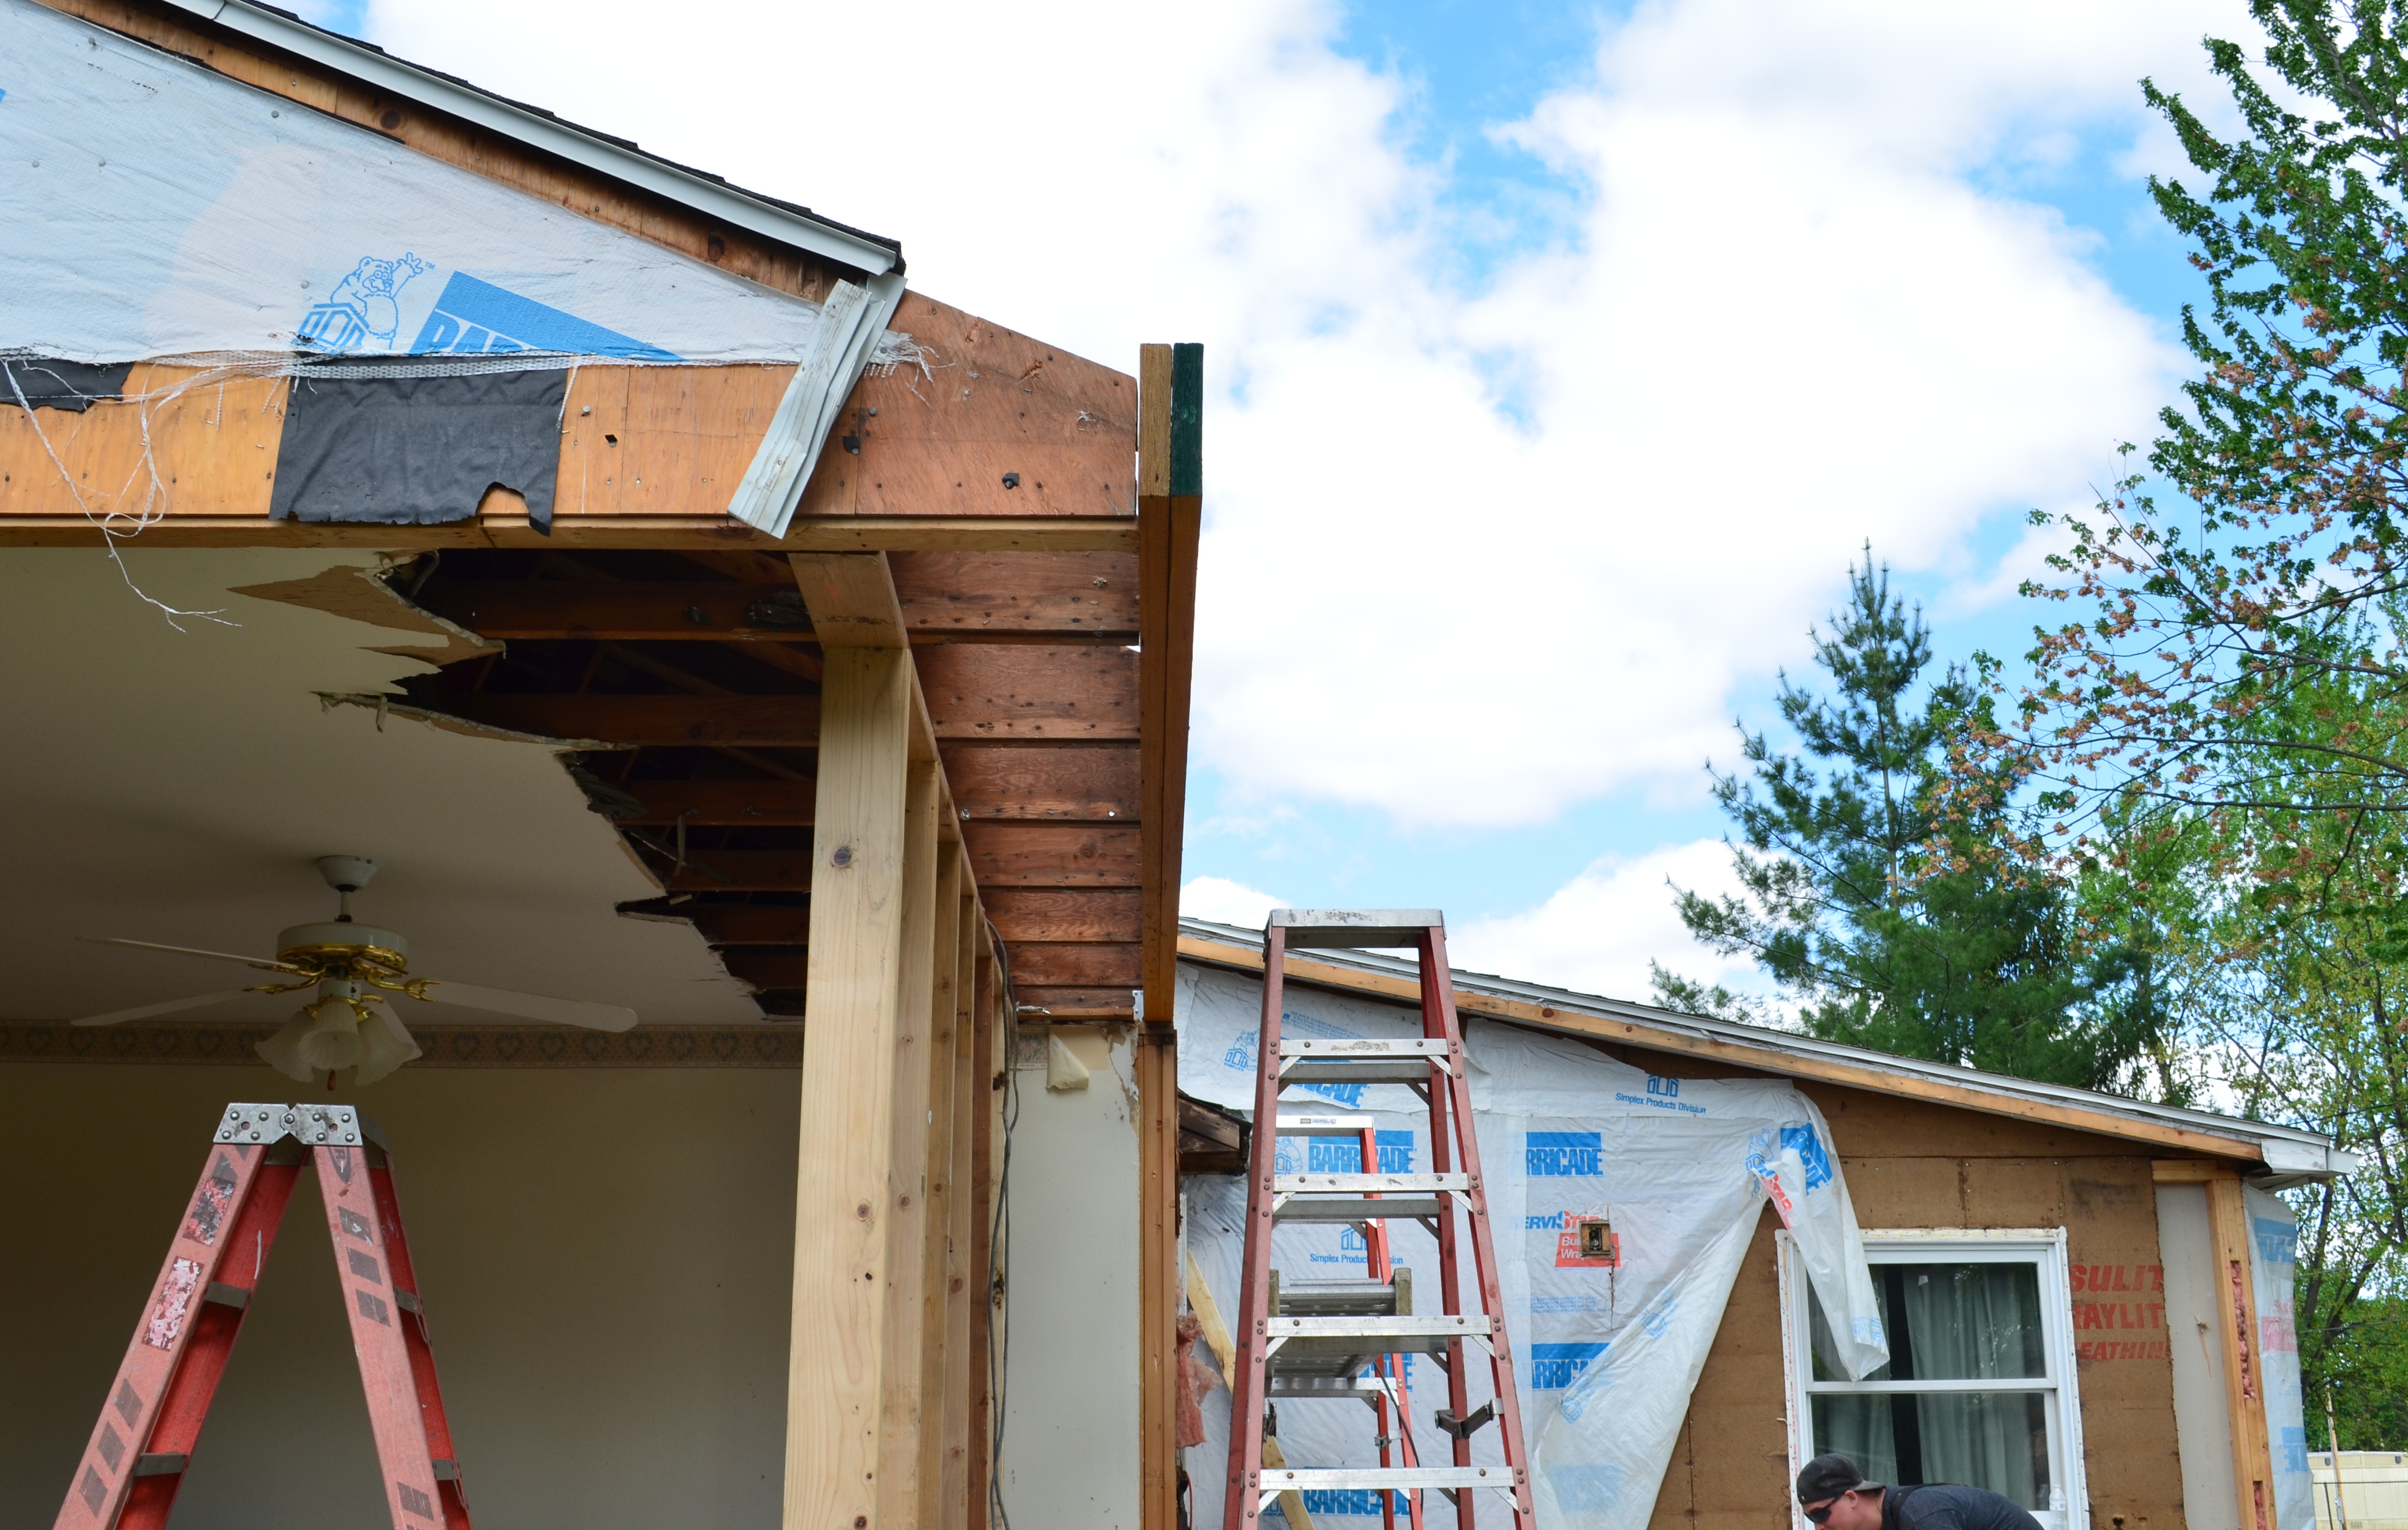
With the return of good weather, the framing crew has arrived! Step one was to remove the siding and sheathing from the old bedroom.
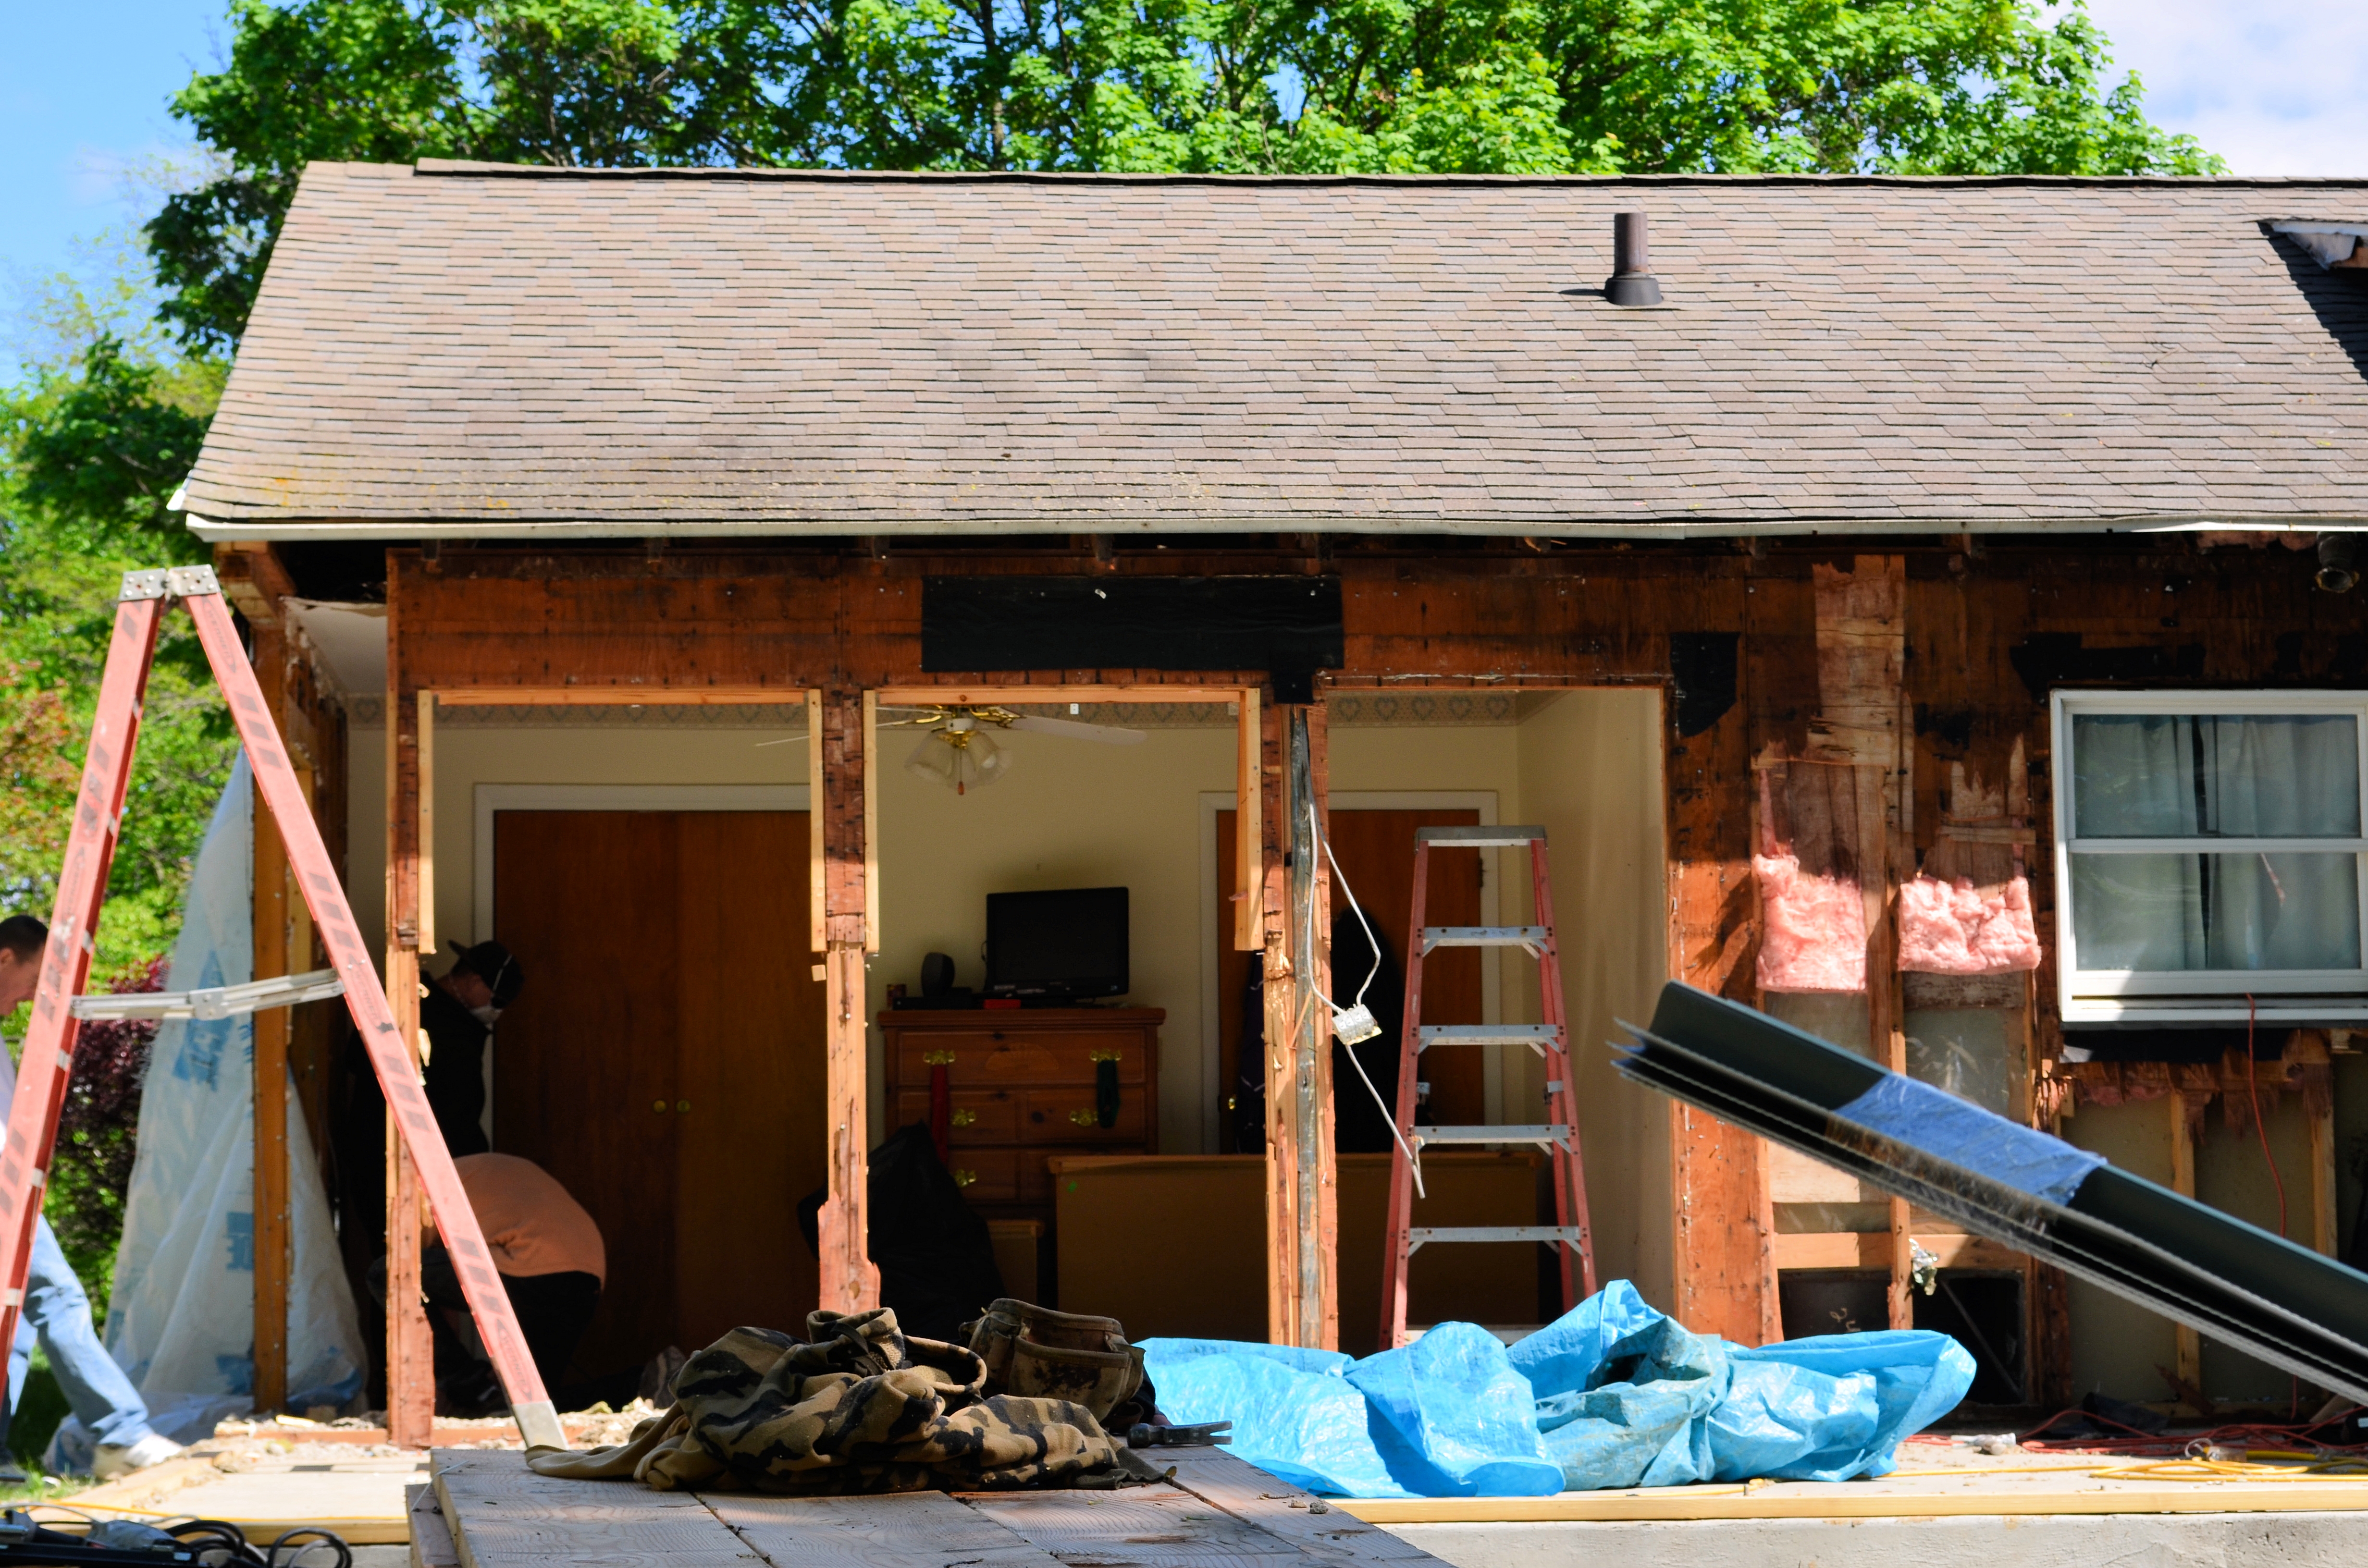
What used to be the south wall of our bedroom is reduced to a few studs.
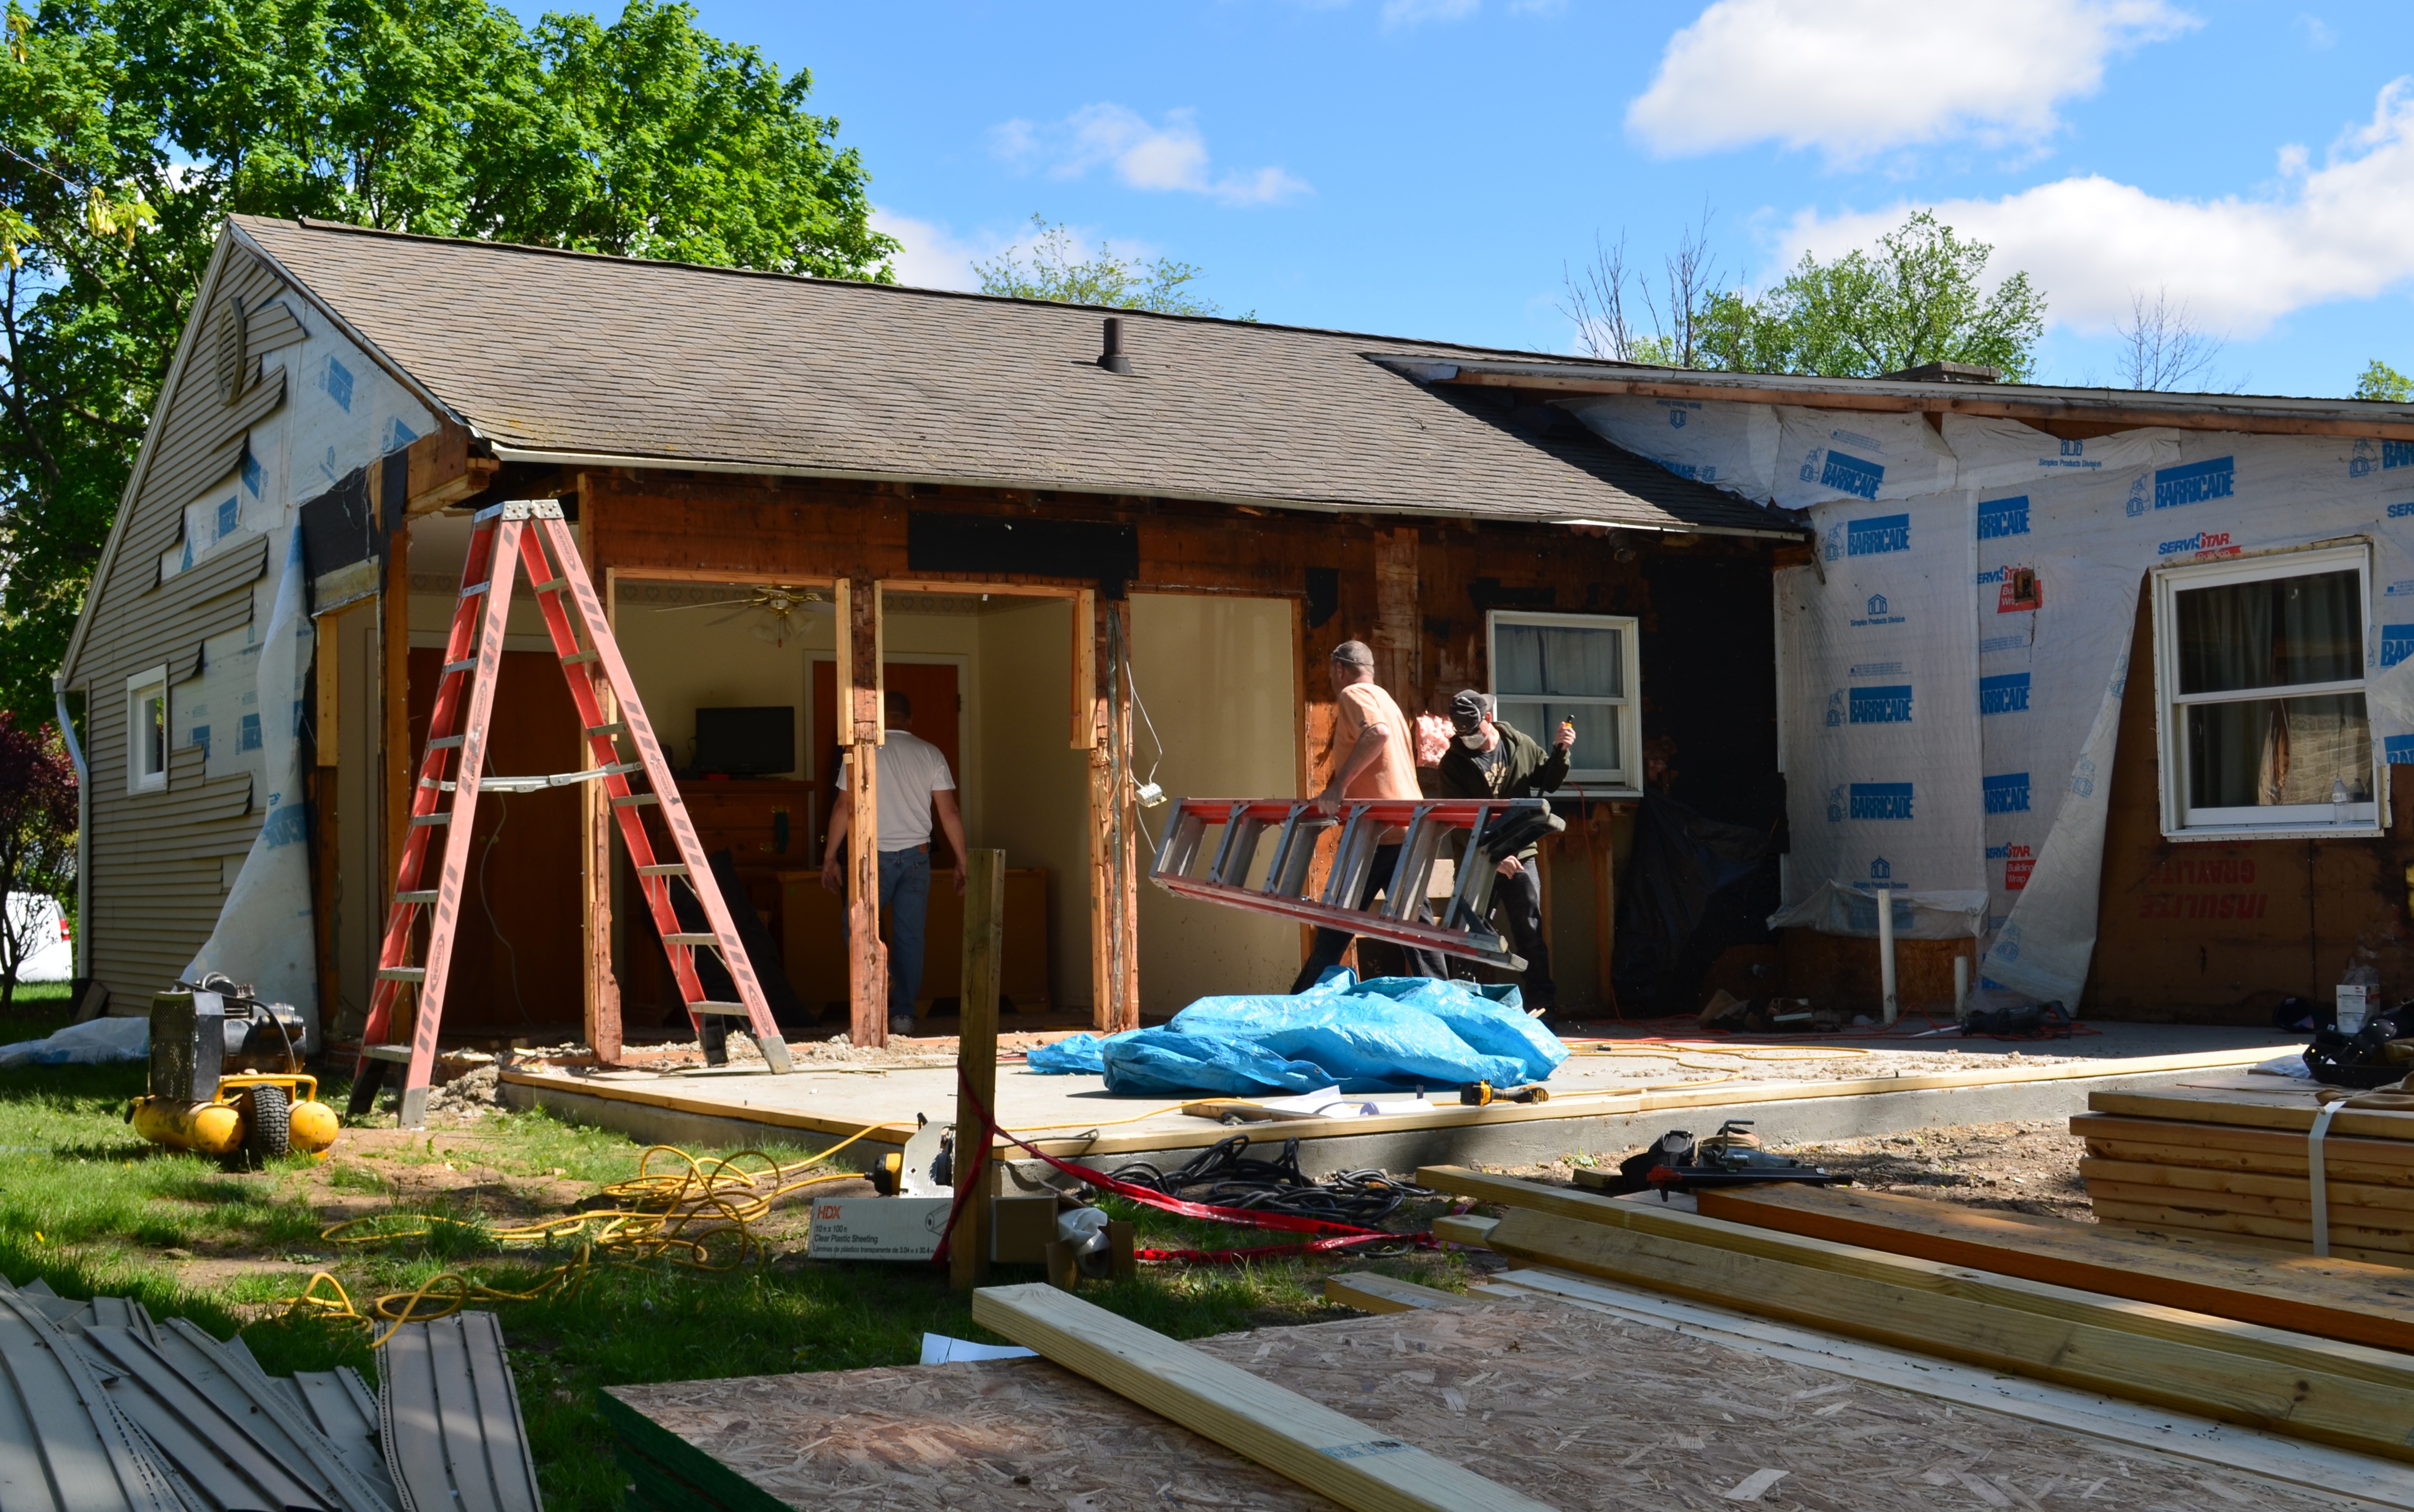
We now have an open-air bedroom.
We have watched enough remodeling reality shows on television to know there are always a few nasty surprises in any remodeling project. When the siding and sheathing were removed from the bedroom, we discovered that the southeast corner of the original bedroom slab is about an inch higher than the rest of the bedroom. As a result, it is also an inch higher than the new slab that was poured for our addition.
This is probably due to nearly 60 years of freezing and thawing, causing the original foundation to move. Whatever the cause, we now have a one inch “step” in the middle of our new bedroom floor. We’ll worry about it later.
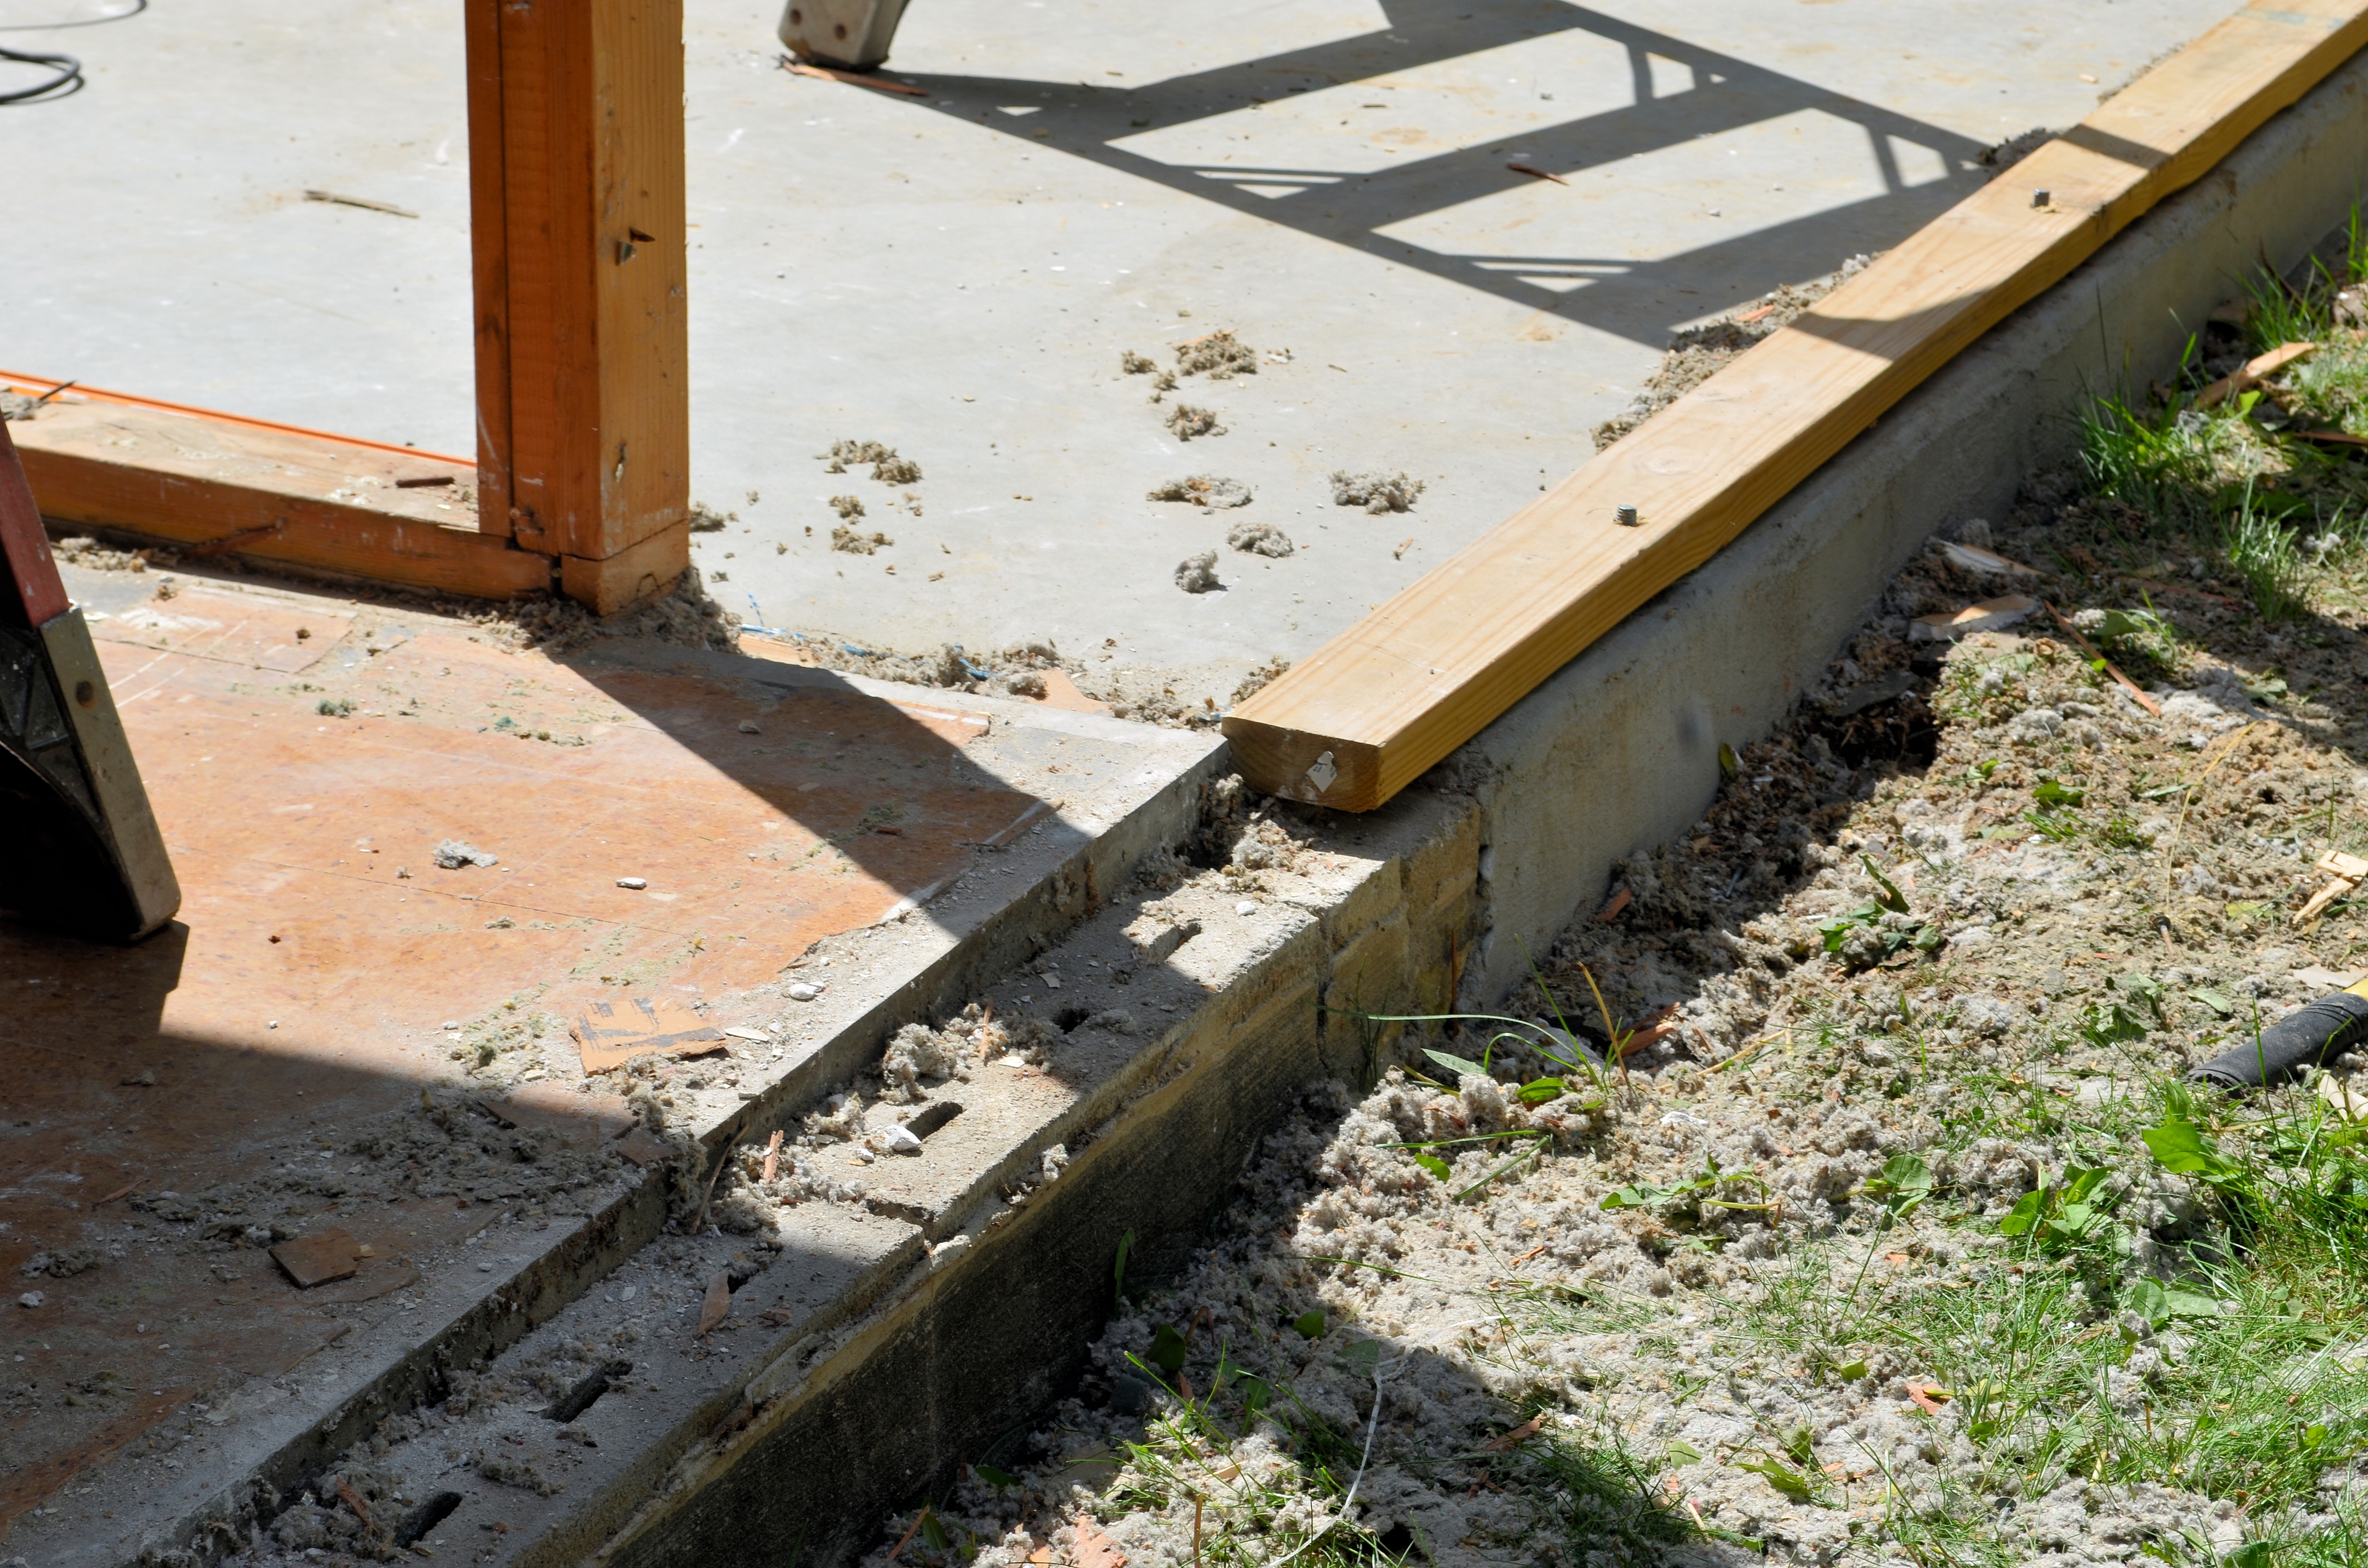
Bad news. The southwest corner of the original foundation is an inch higher than the rest of the bedroom floor!
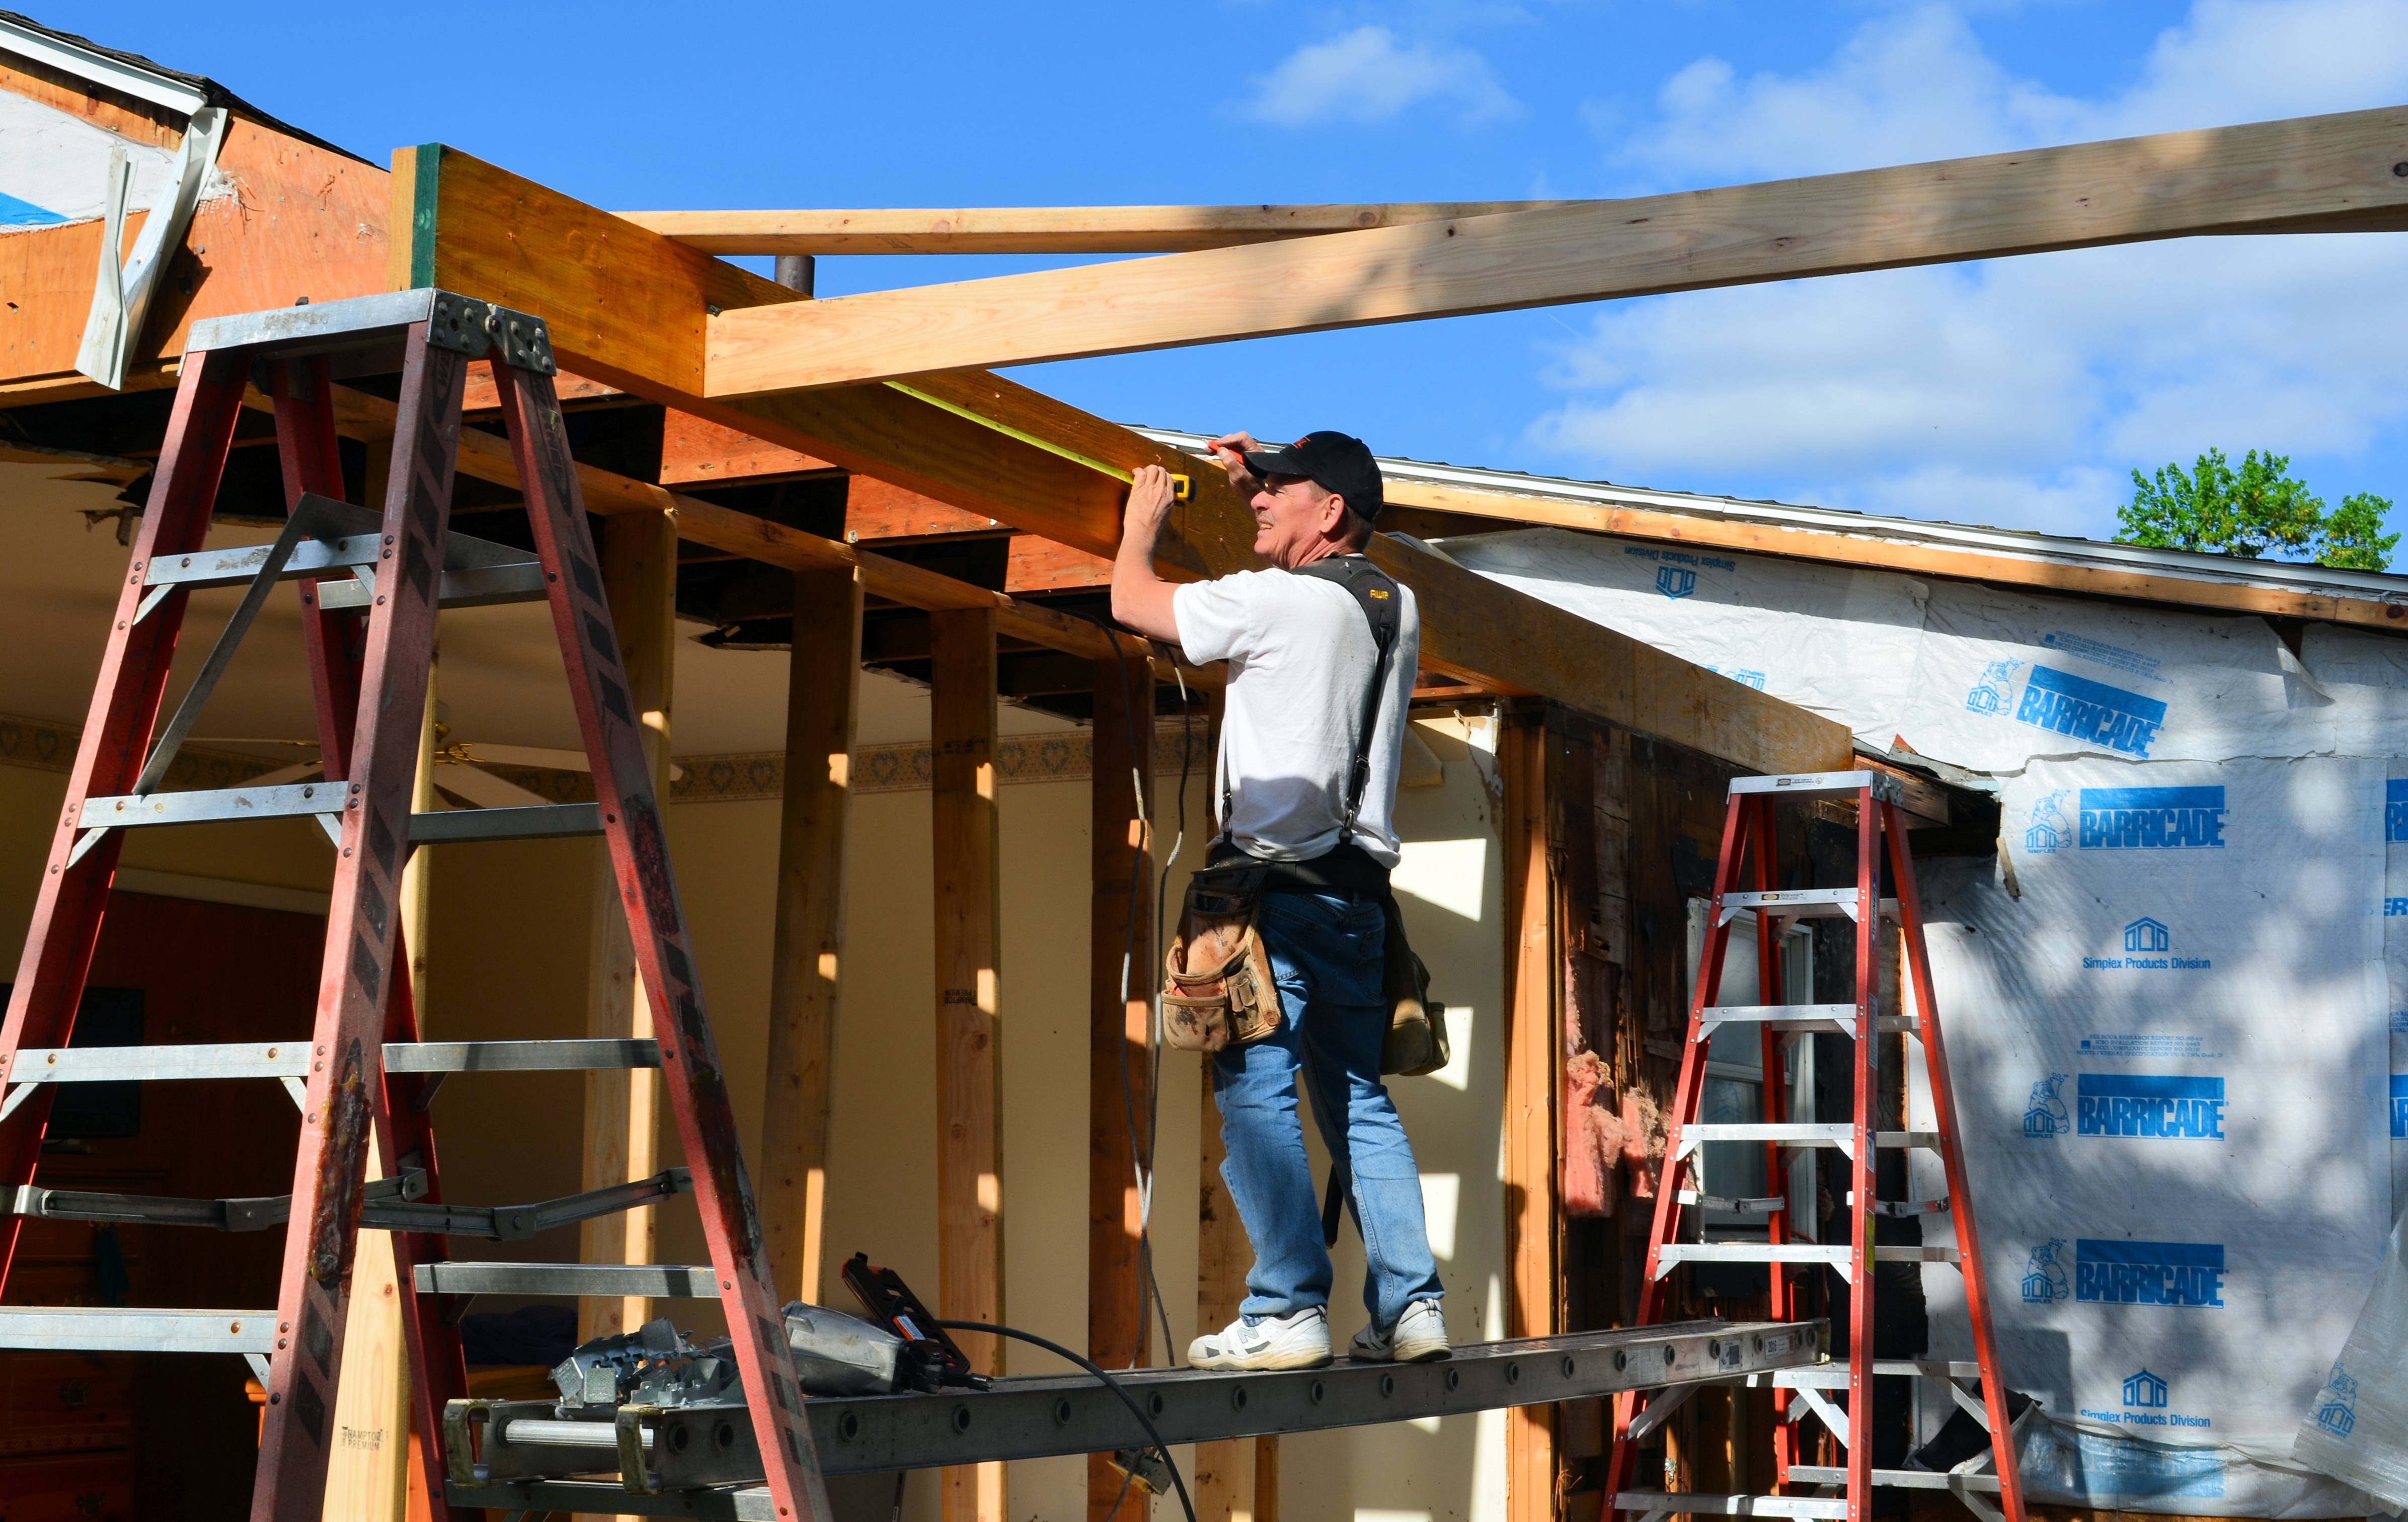
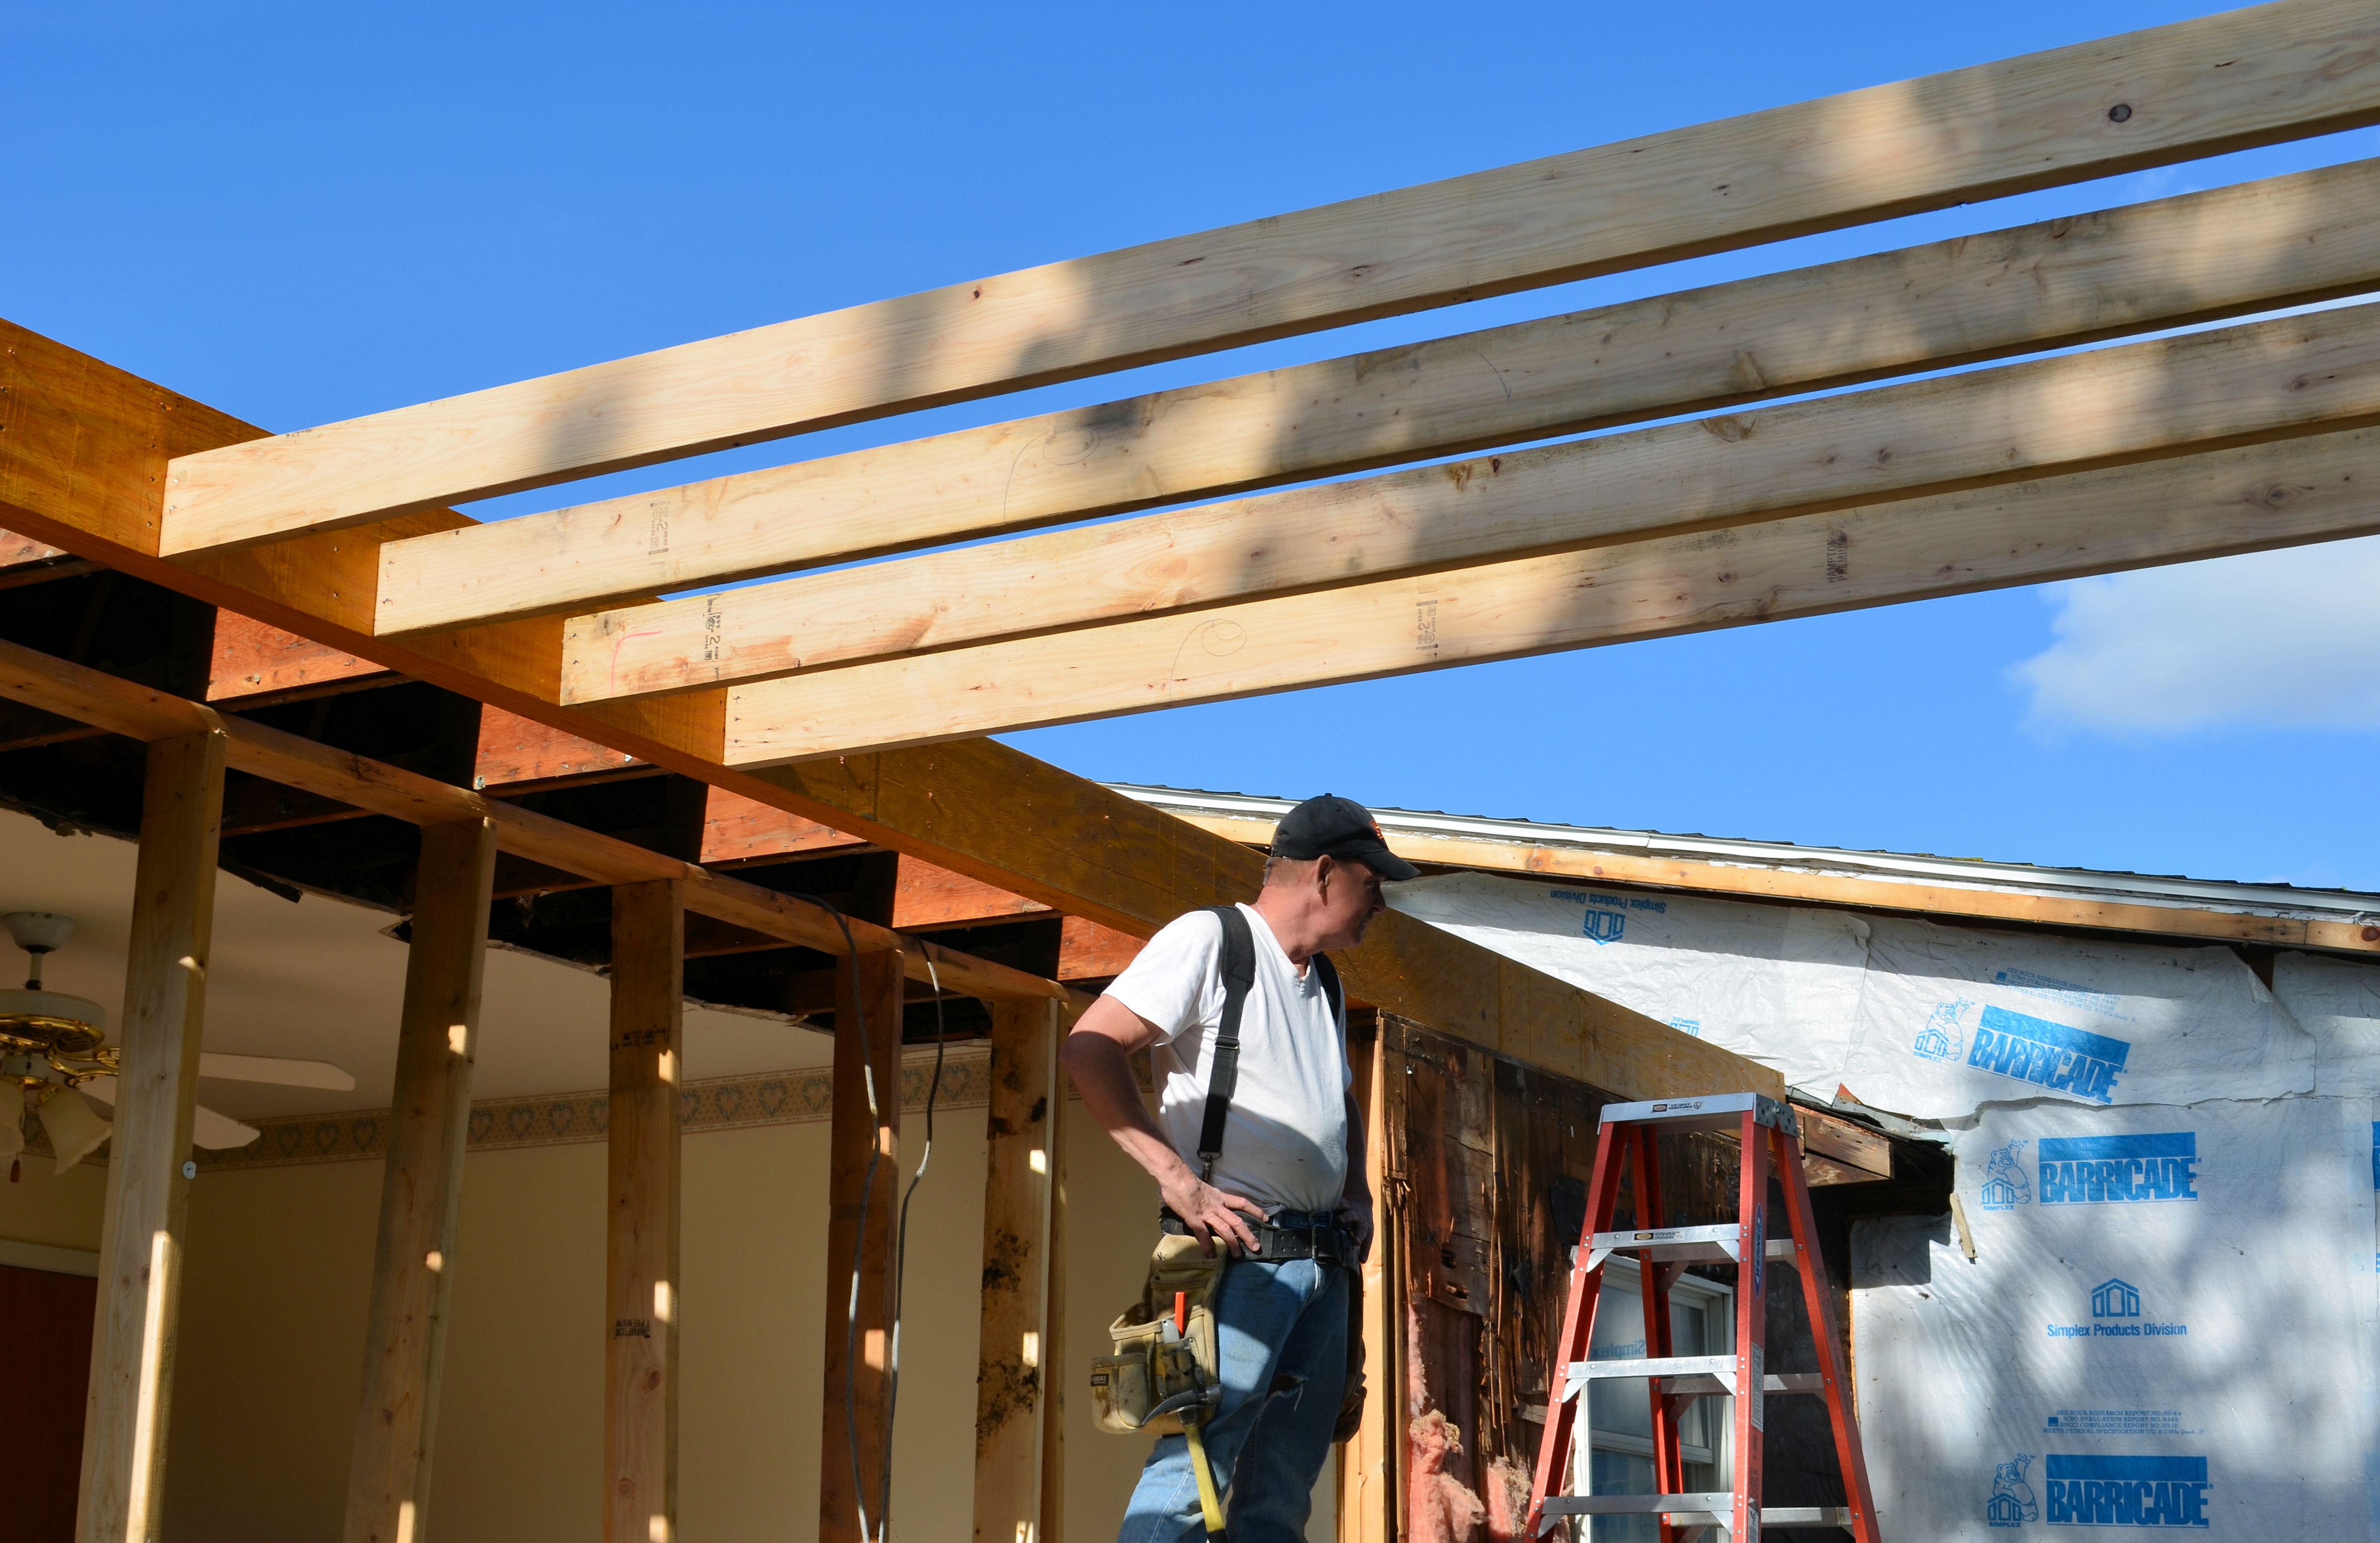
Work continues. The old roof was peeled back, exposing the original hand-built trusses. These were trimmed so that two engineered beams can be installed to support the new, larger roof.
Trimming the old roof trusses in preparation for installing the engineered beams.
The first of two VERSA-LAM engineered beams goes up. The beams are a key structural element of our addition.
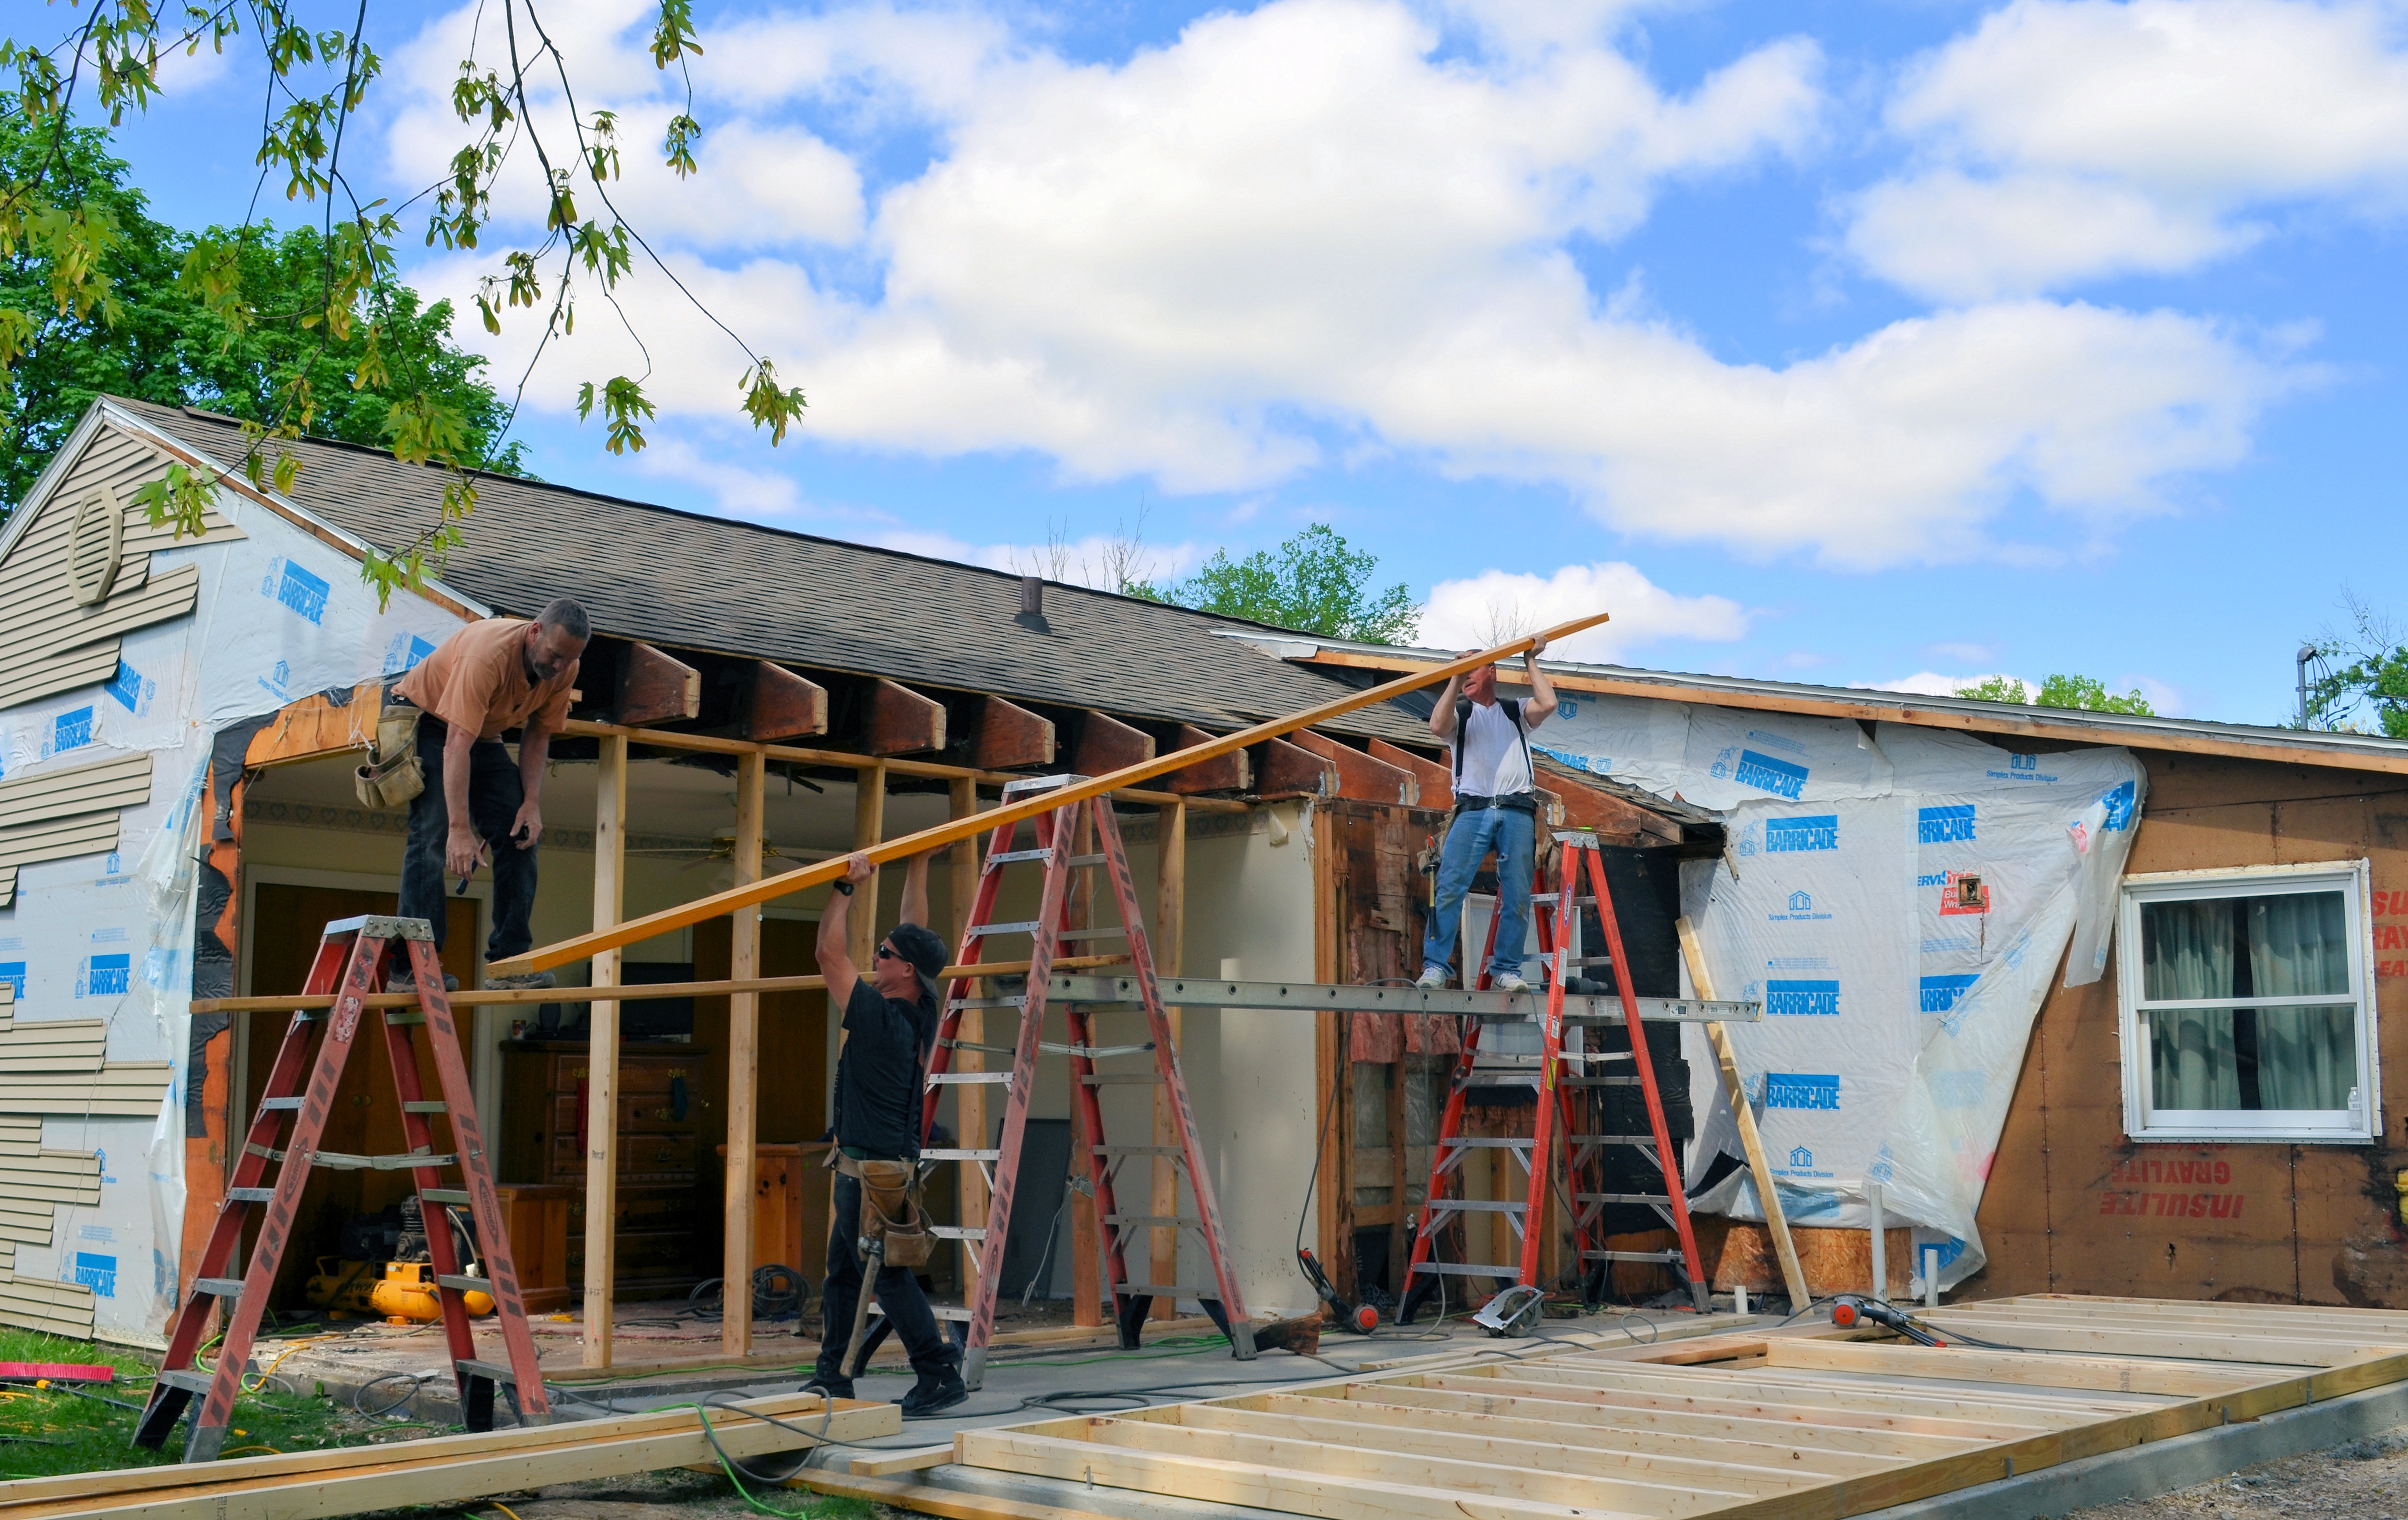
The first of two VERSA-LAM beams goes up. The beams are a key structural element of our addition.
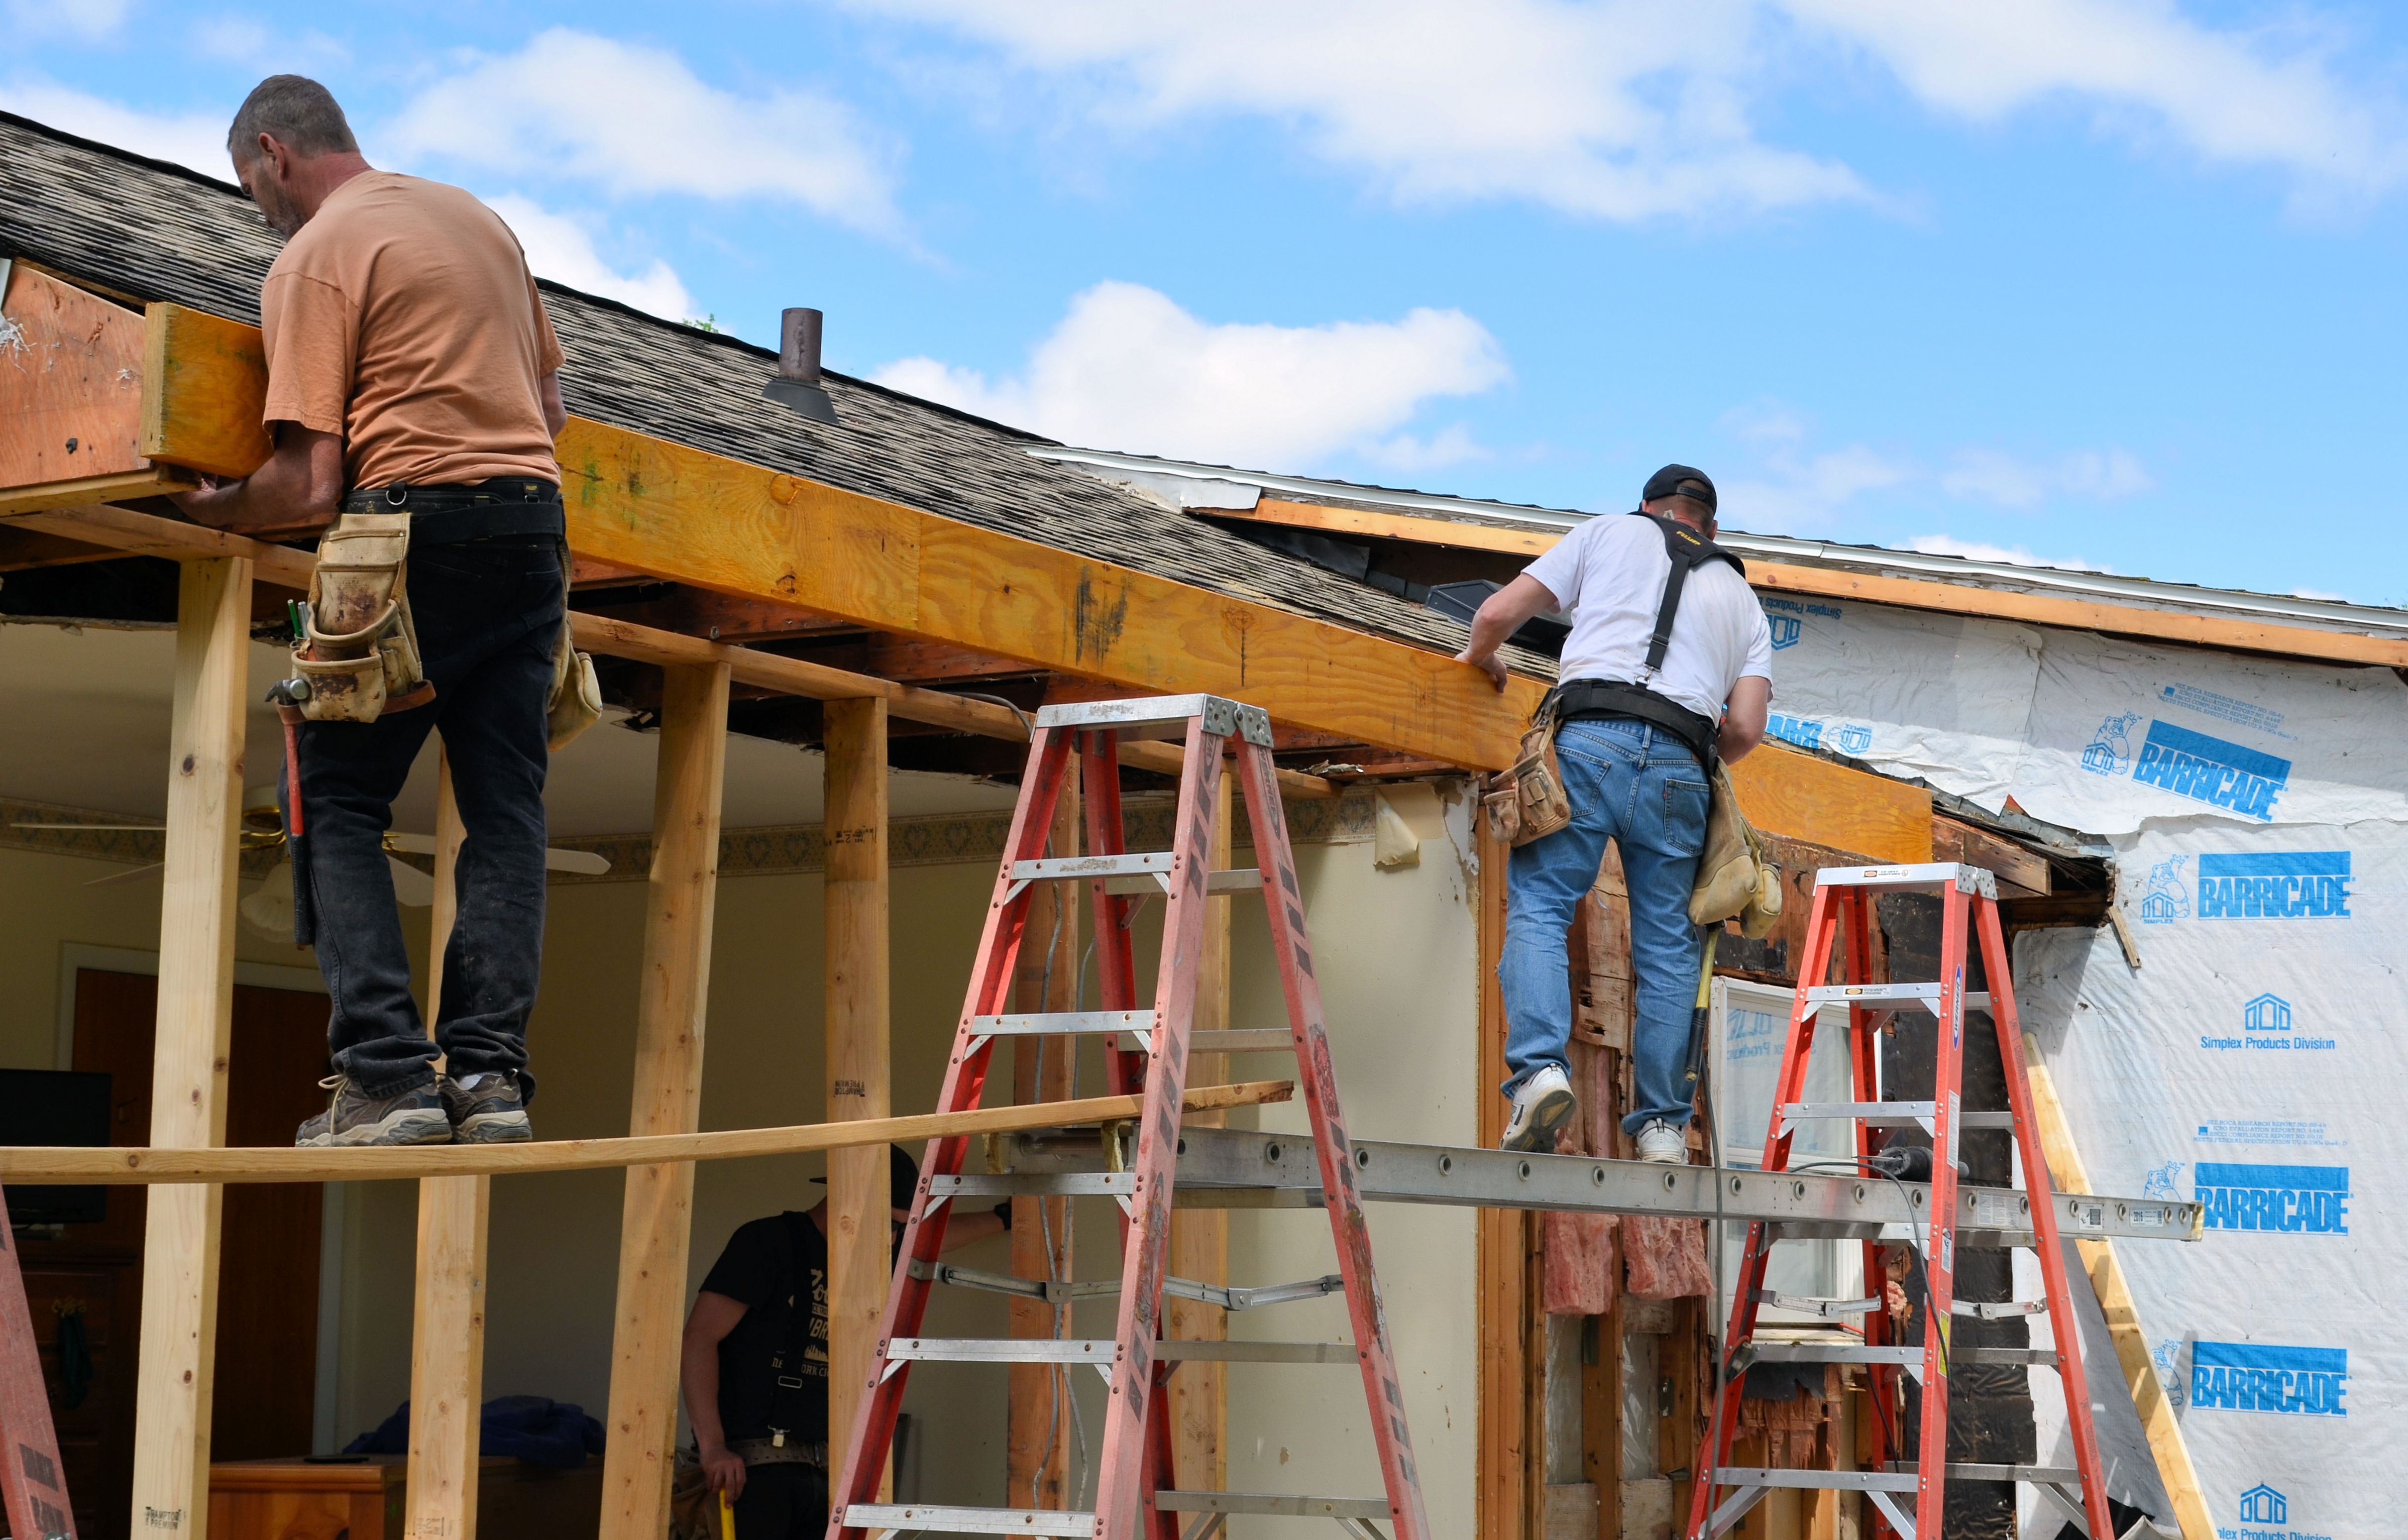
Securing the beam to the old roof trusses.
The second beam was nailed onto the first one.
The second beam is moved into place.
Eventually the beams will be joined to the trusses with metal hangers.
The two beams will carry a major part the load of the new roof for the addition.
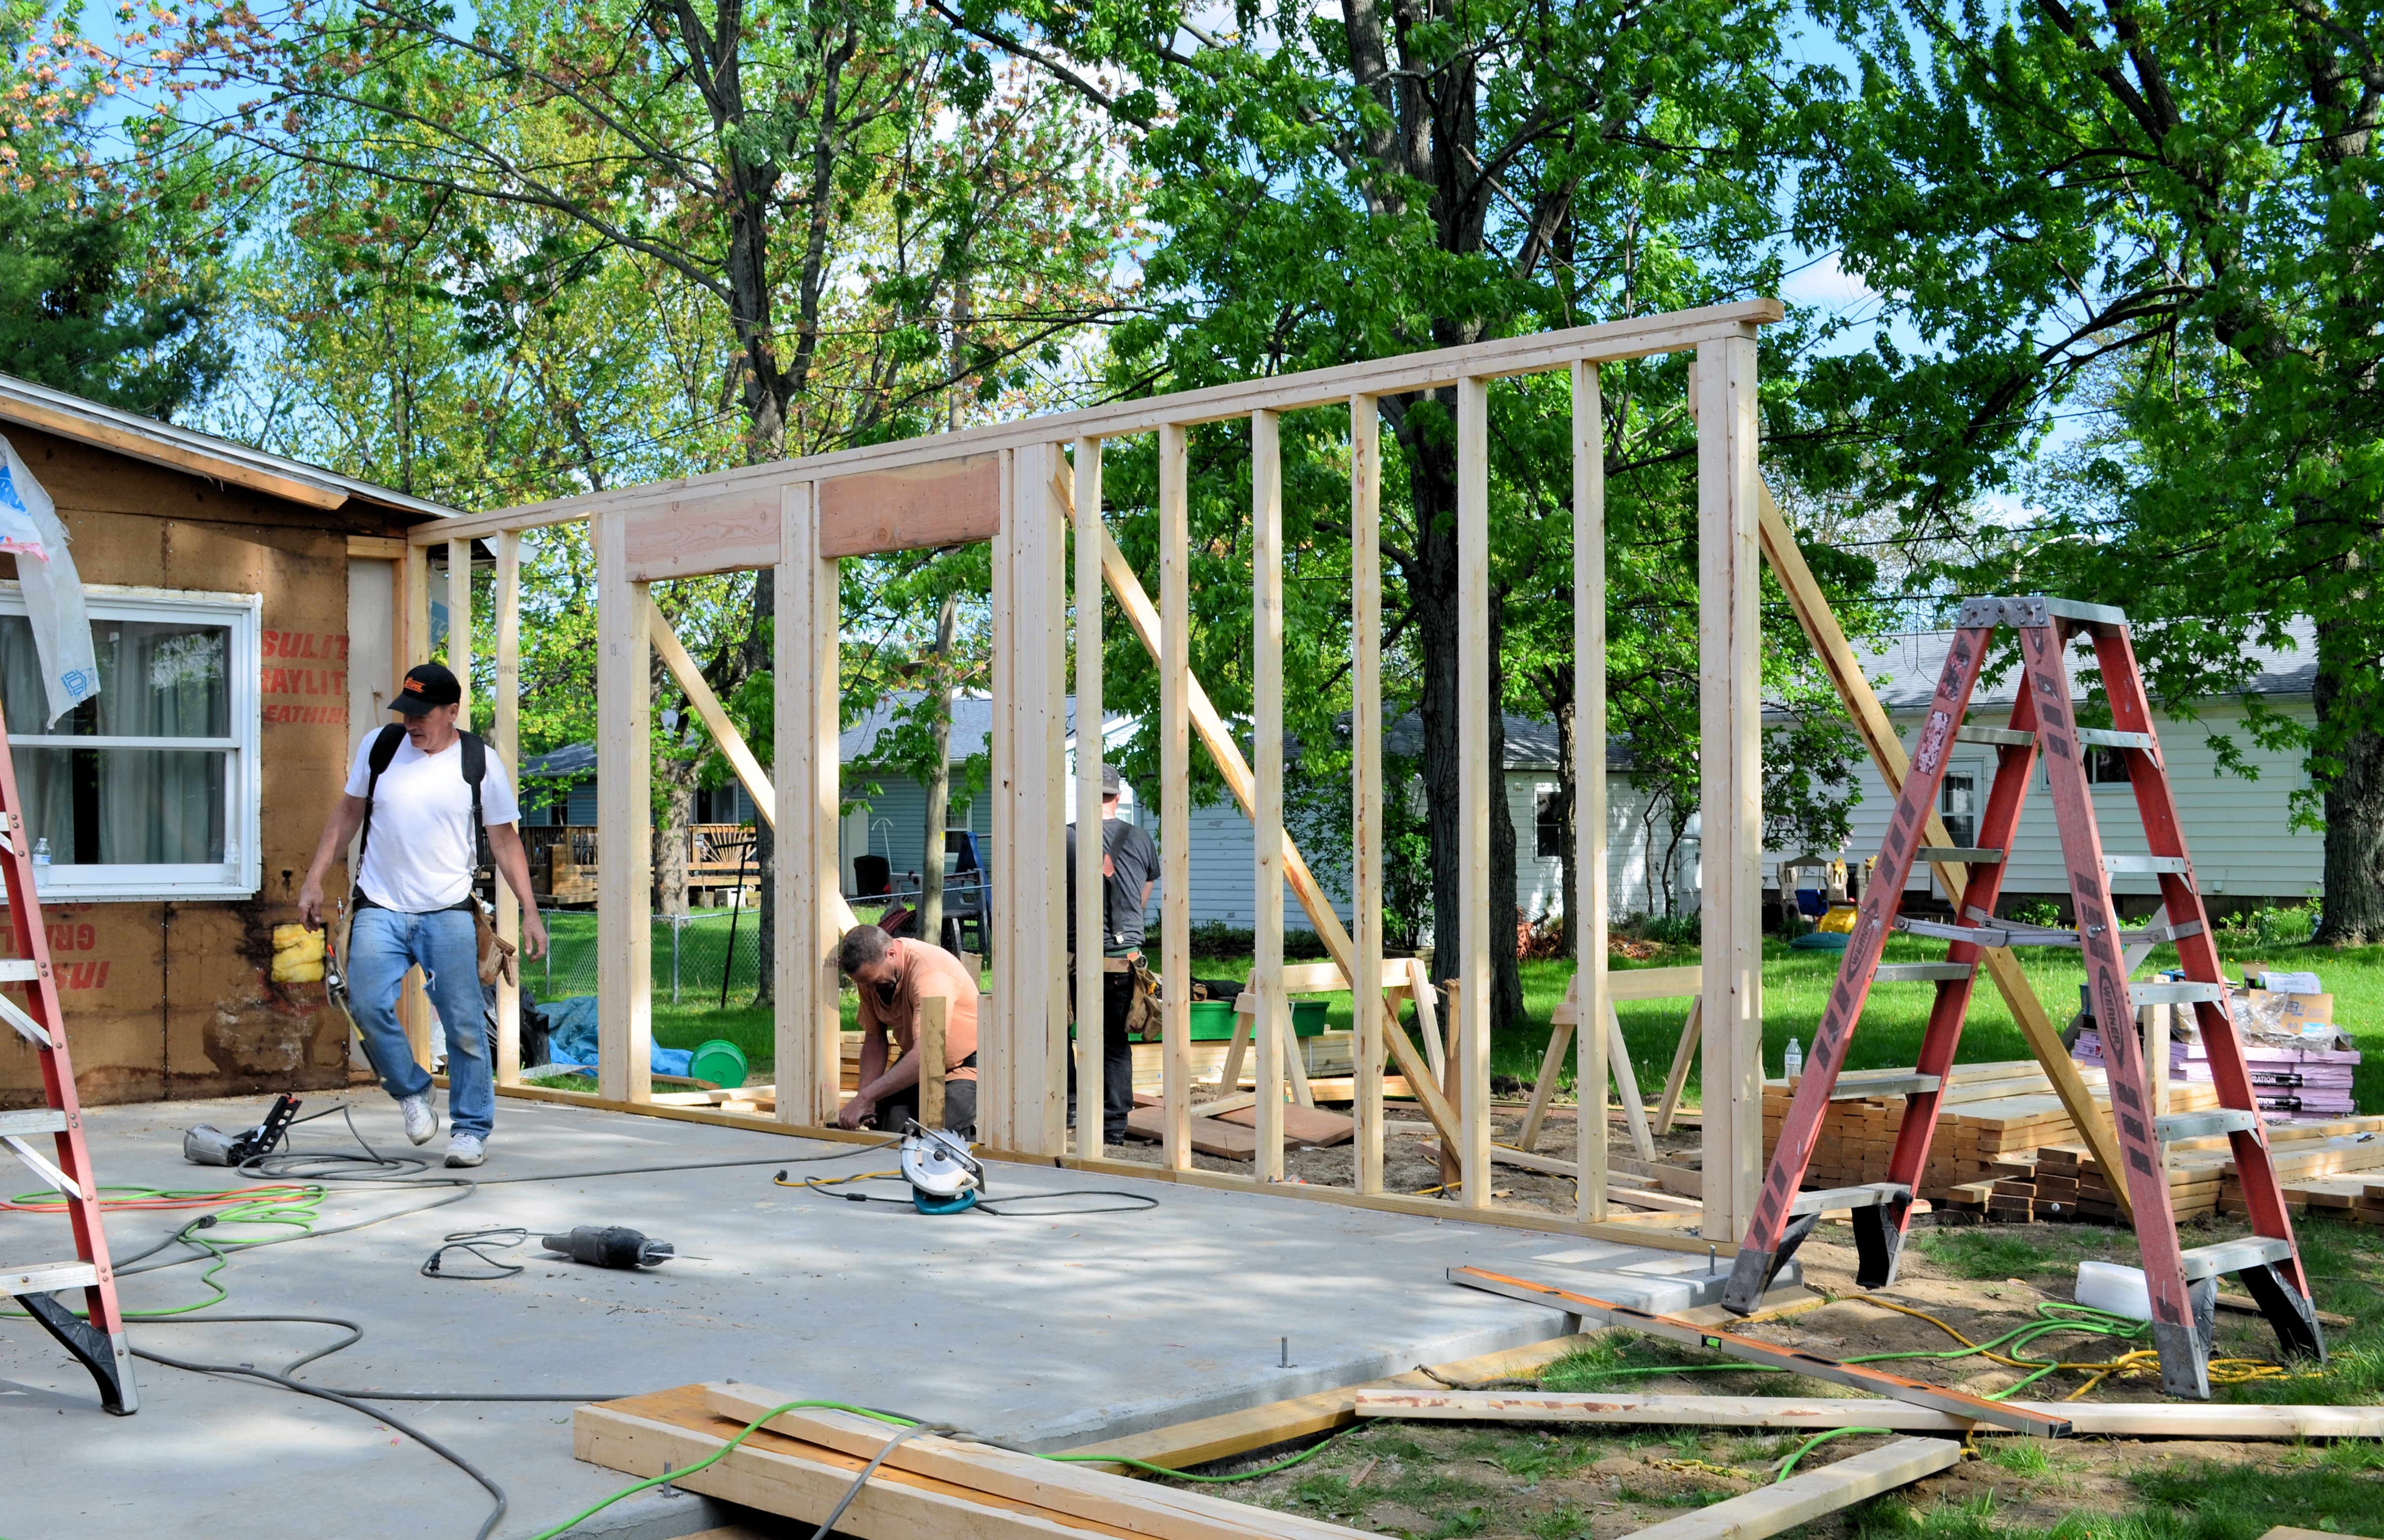
Meanwhile the new south wall of the addition was assembled horizontally on the slab.

Our new south wall begins to take shape.
And up it goes! Our slab is starting to look like part of the house, instead of like a very expensive patio.
And it’s up!
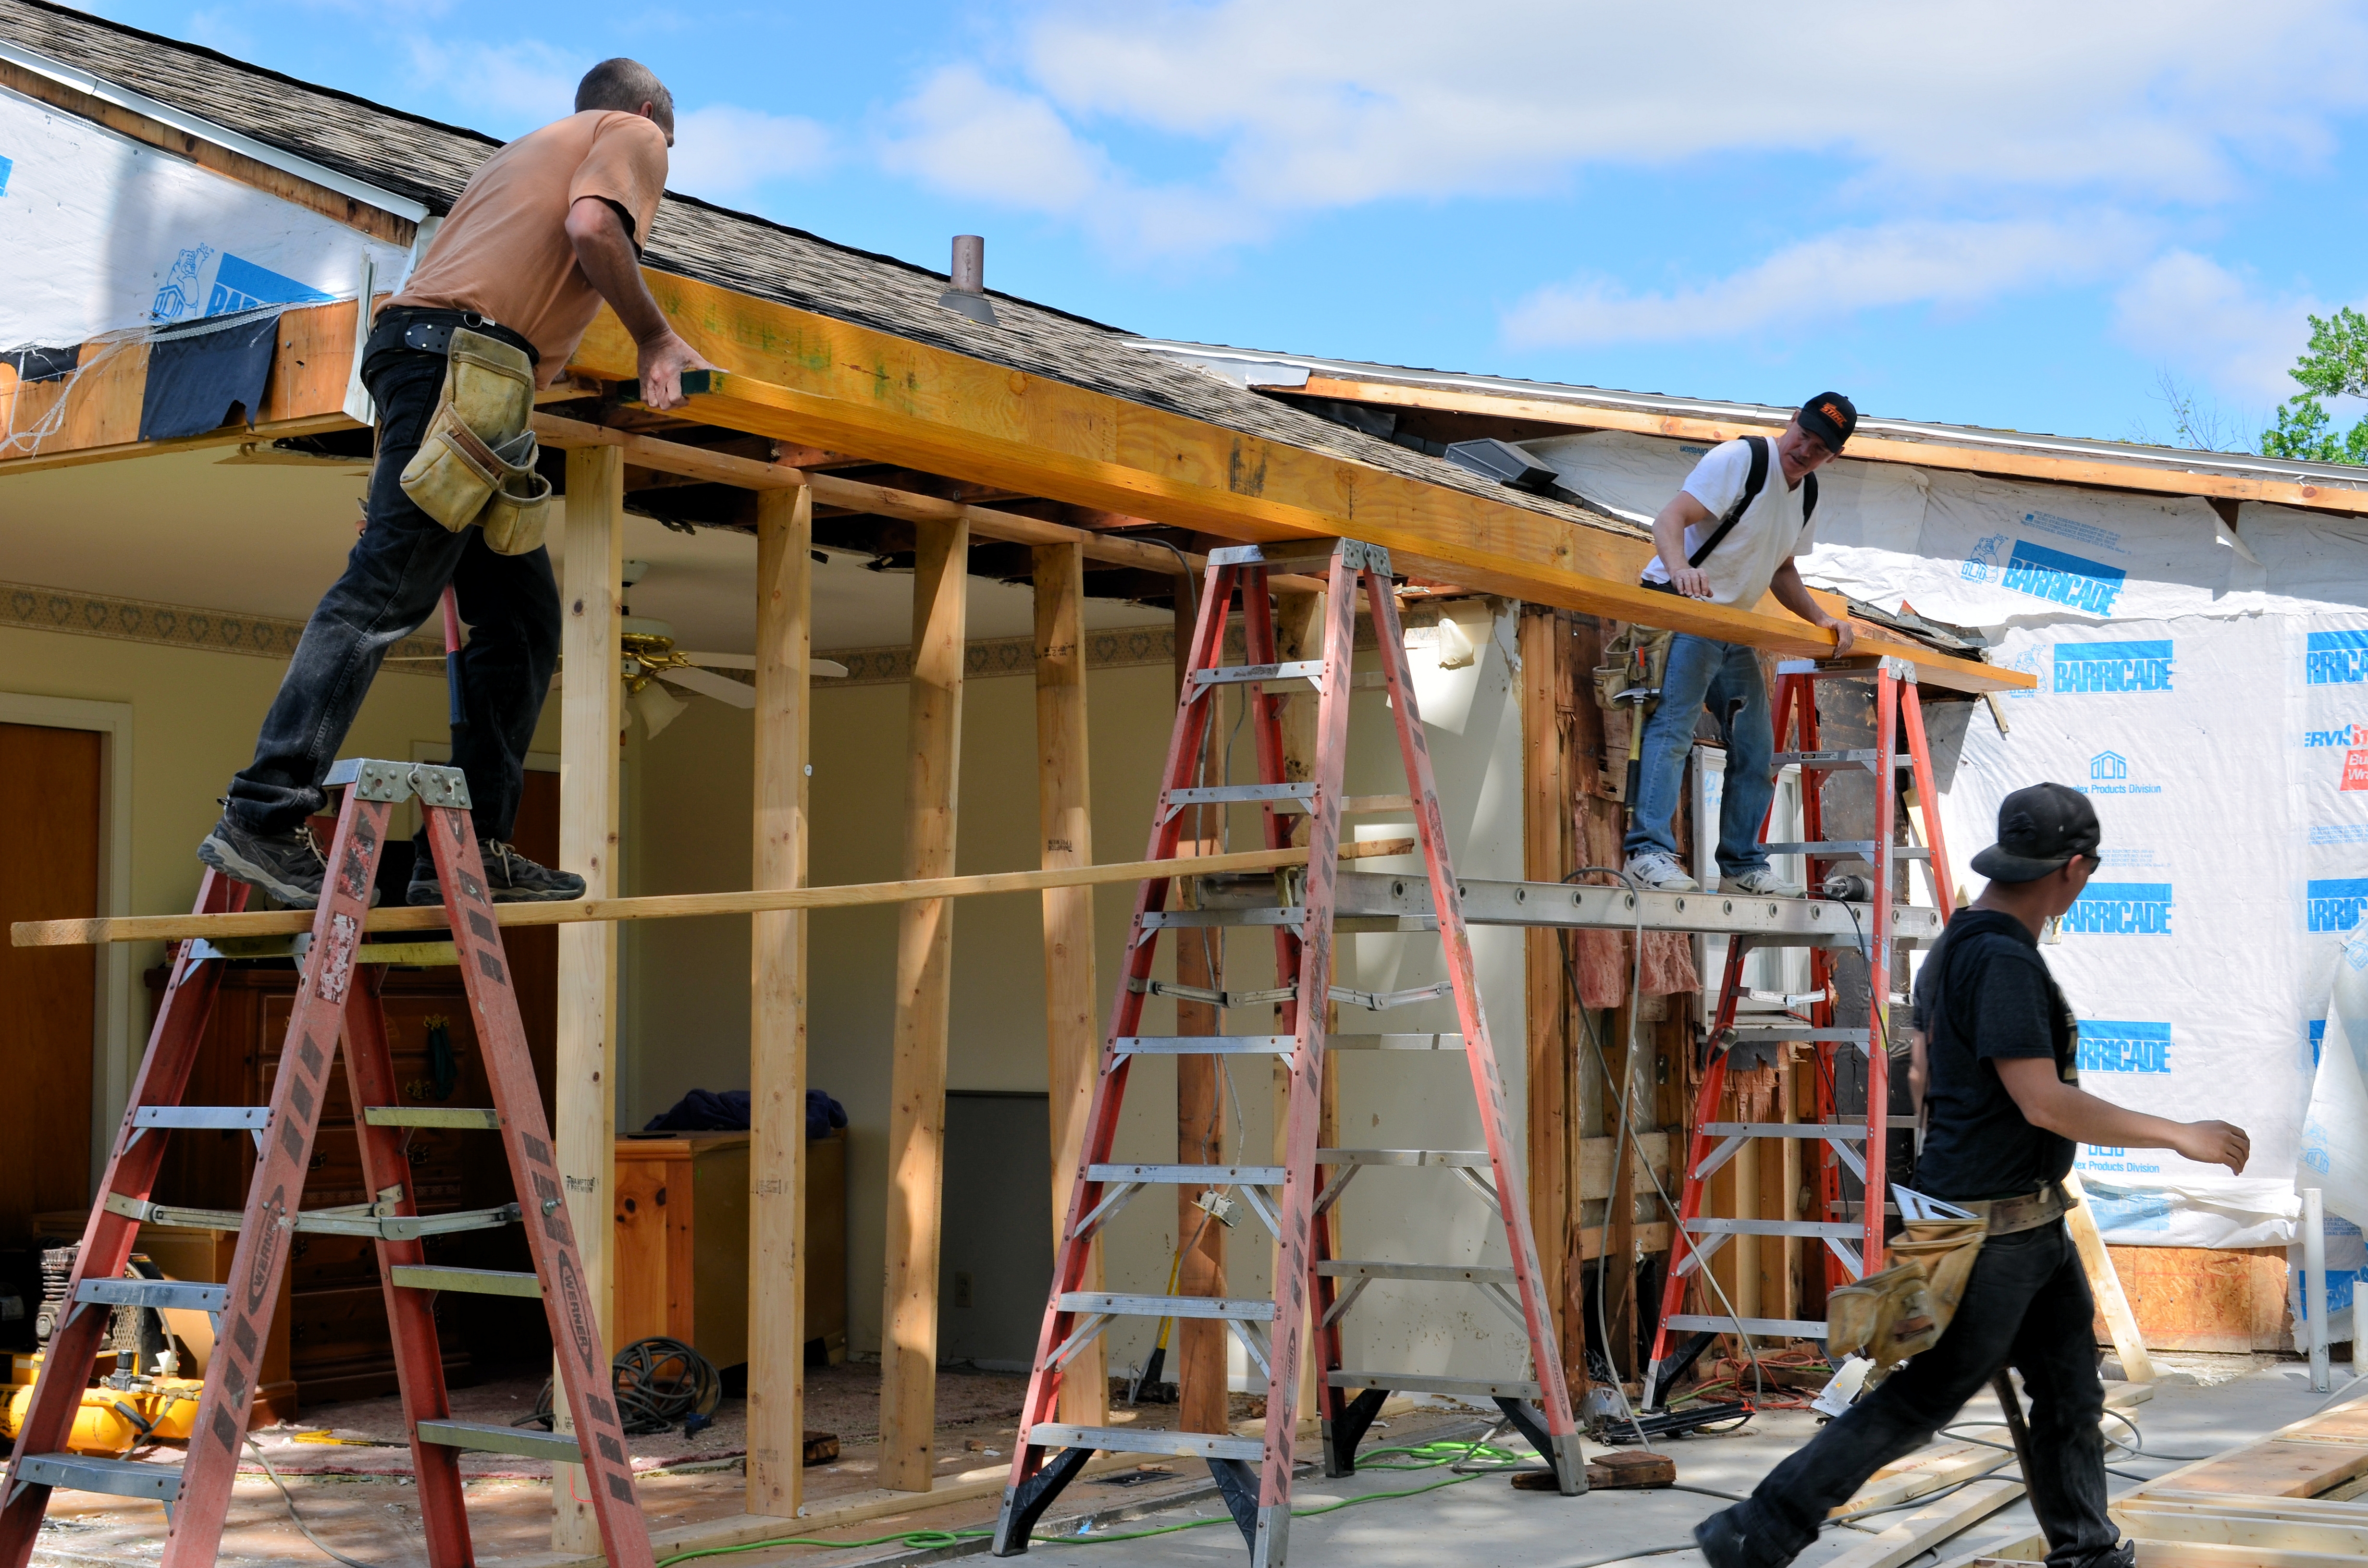
It was time for some important measurements. Would the south wall be parallel to the engineered beams?
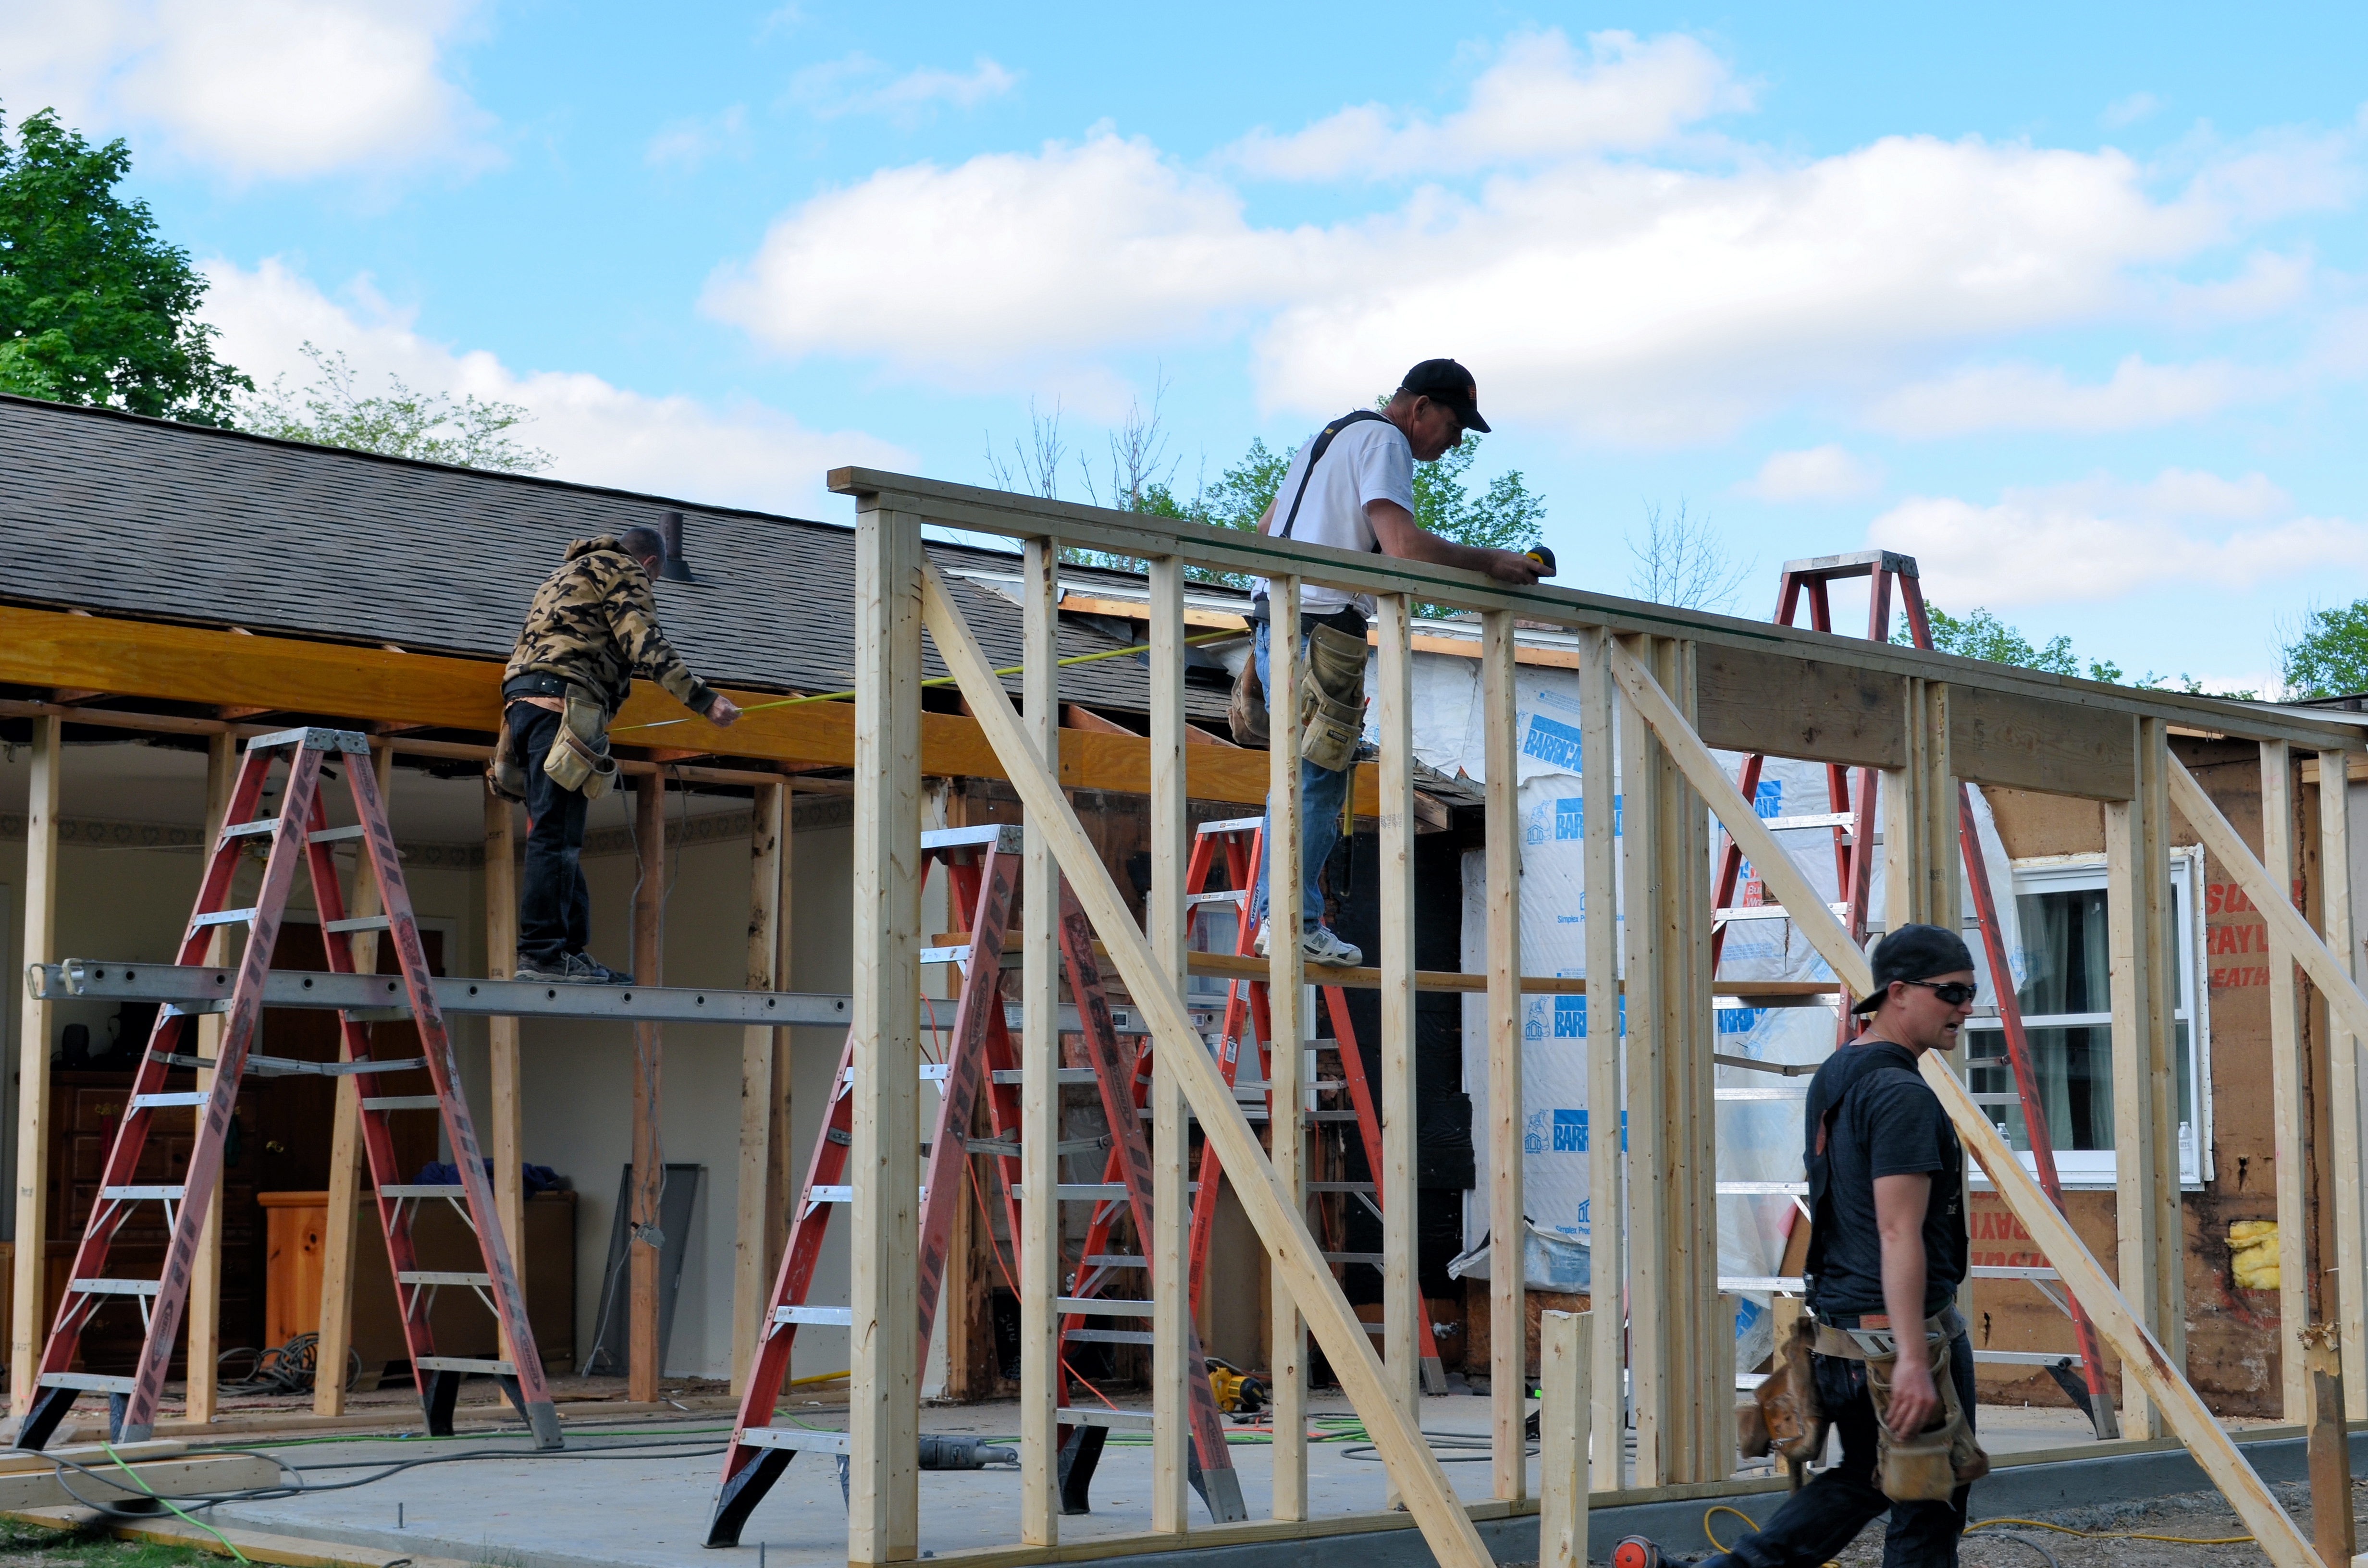
Measure twice, cut once.
The distance between the beams and the wall was 179 1/2 inches along their entire length. It’s a tribute to the care and skill of Matt and his framing crew. Now the ceiling joists can be installed.
The first of many ceiling joists is in place.
One by one, the joists are cut and fastened in place.