Equal amounts of work were performed on the exterior and interior today.
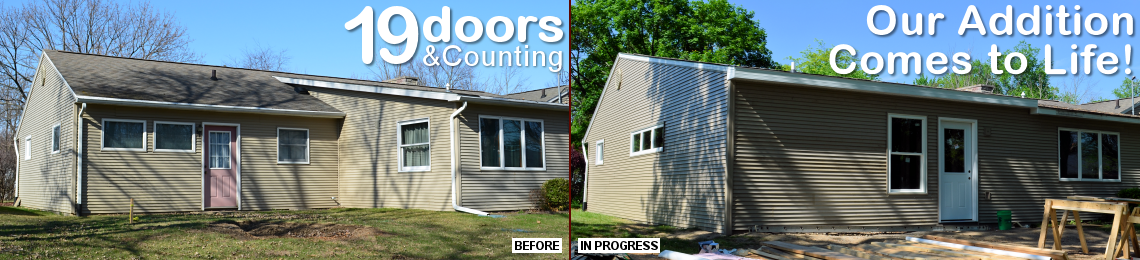
Outside, the crew got about half of the new vinyl siding installed. Naturally, the original siding used on the house was an odd configuration, consisting of three narrow “clapboards” on each panel rather than the more common two wider ones. Not only that, but the original color had, of course, faded slightly over the years. The builder searched far and wide to find a match, and finally succeeded.
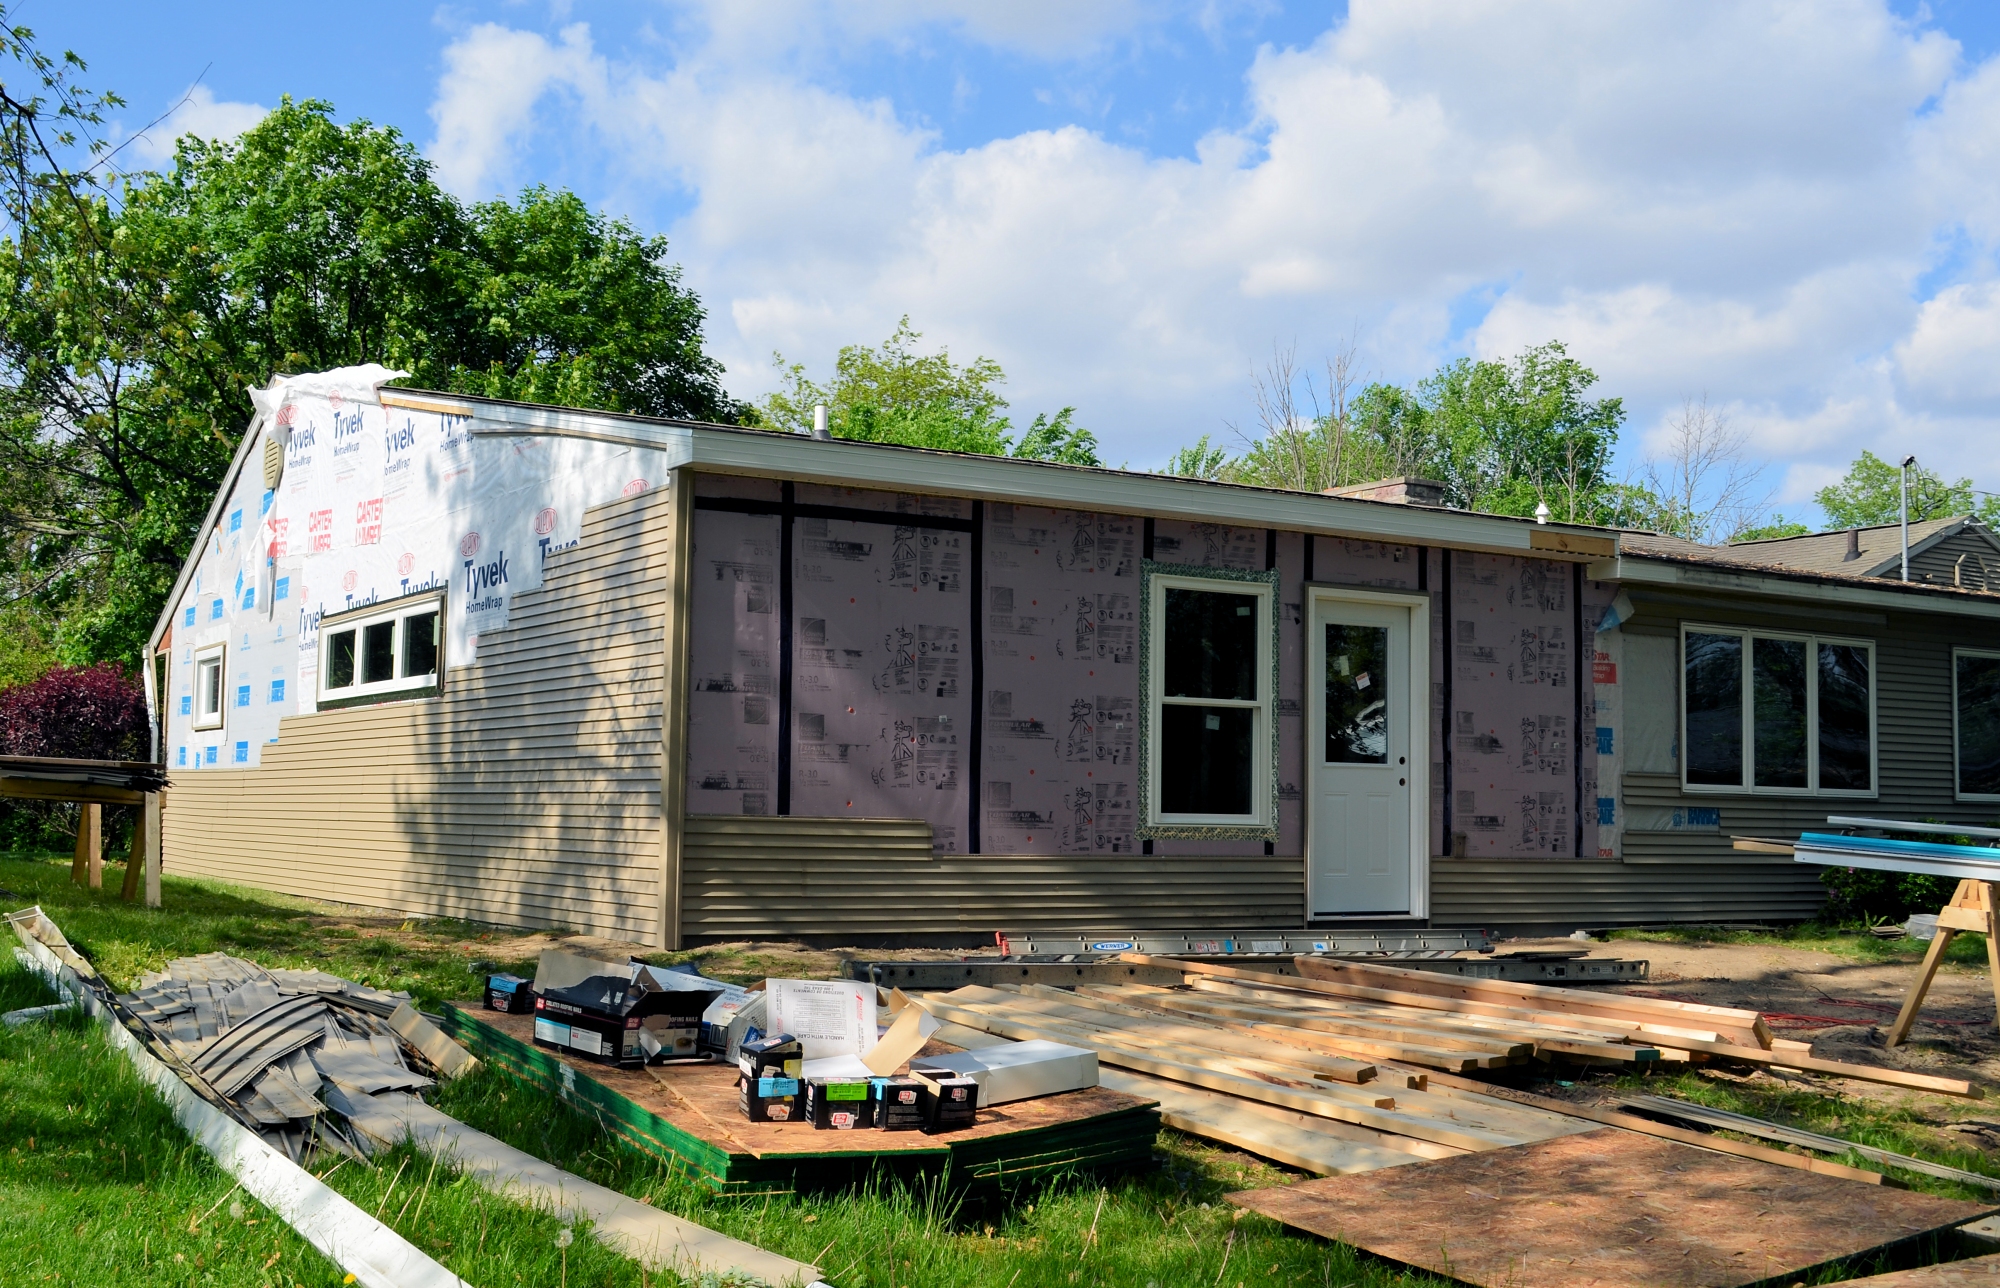
New siding on the addition — a close match to our existing siding.
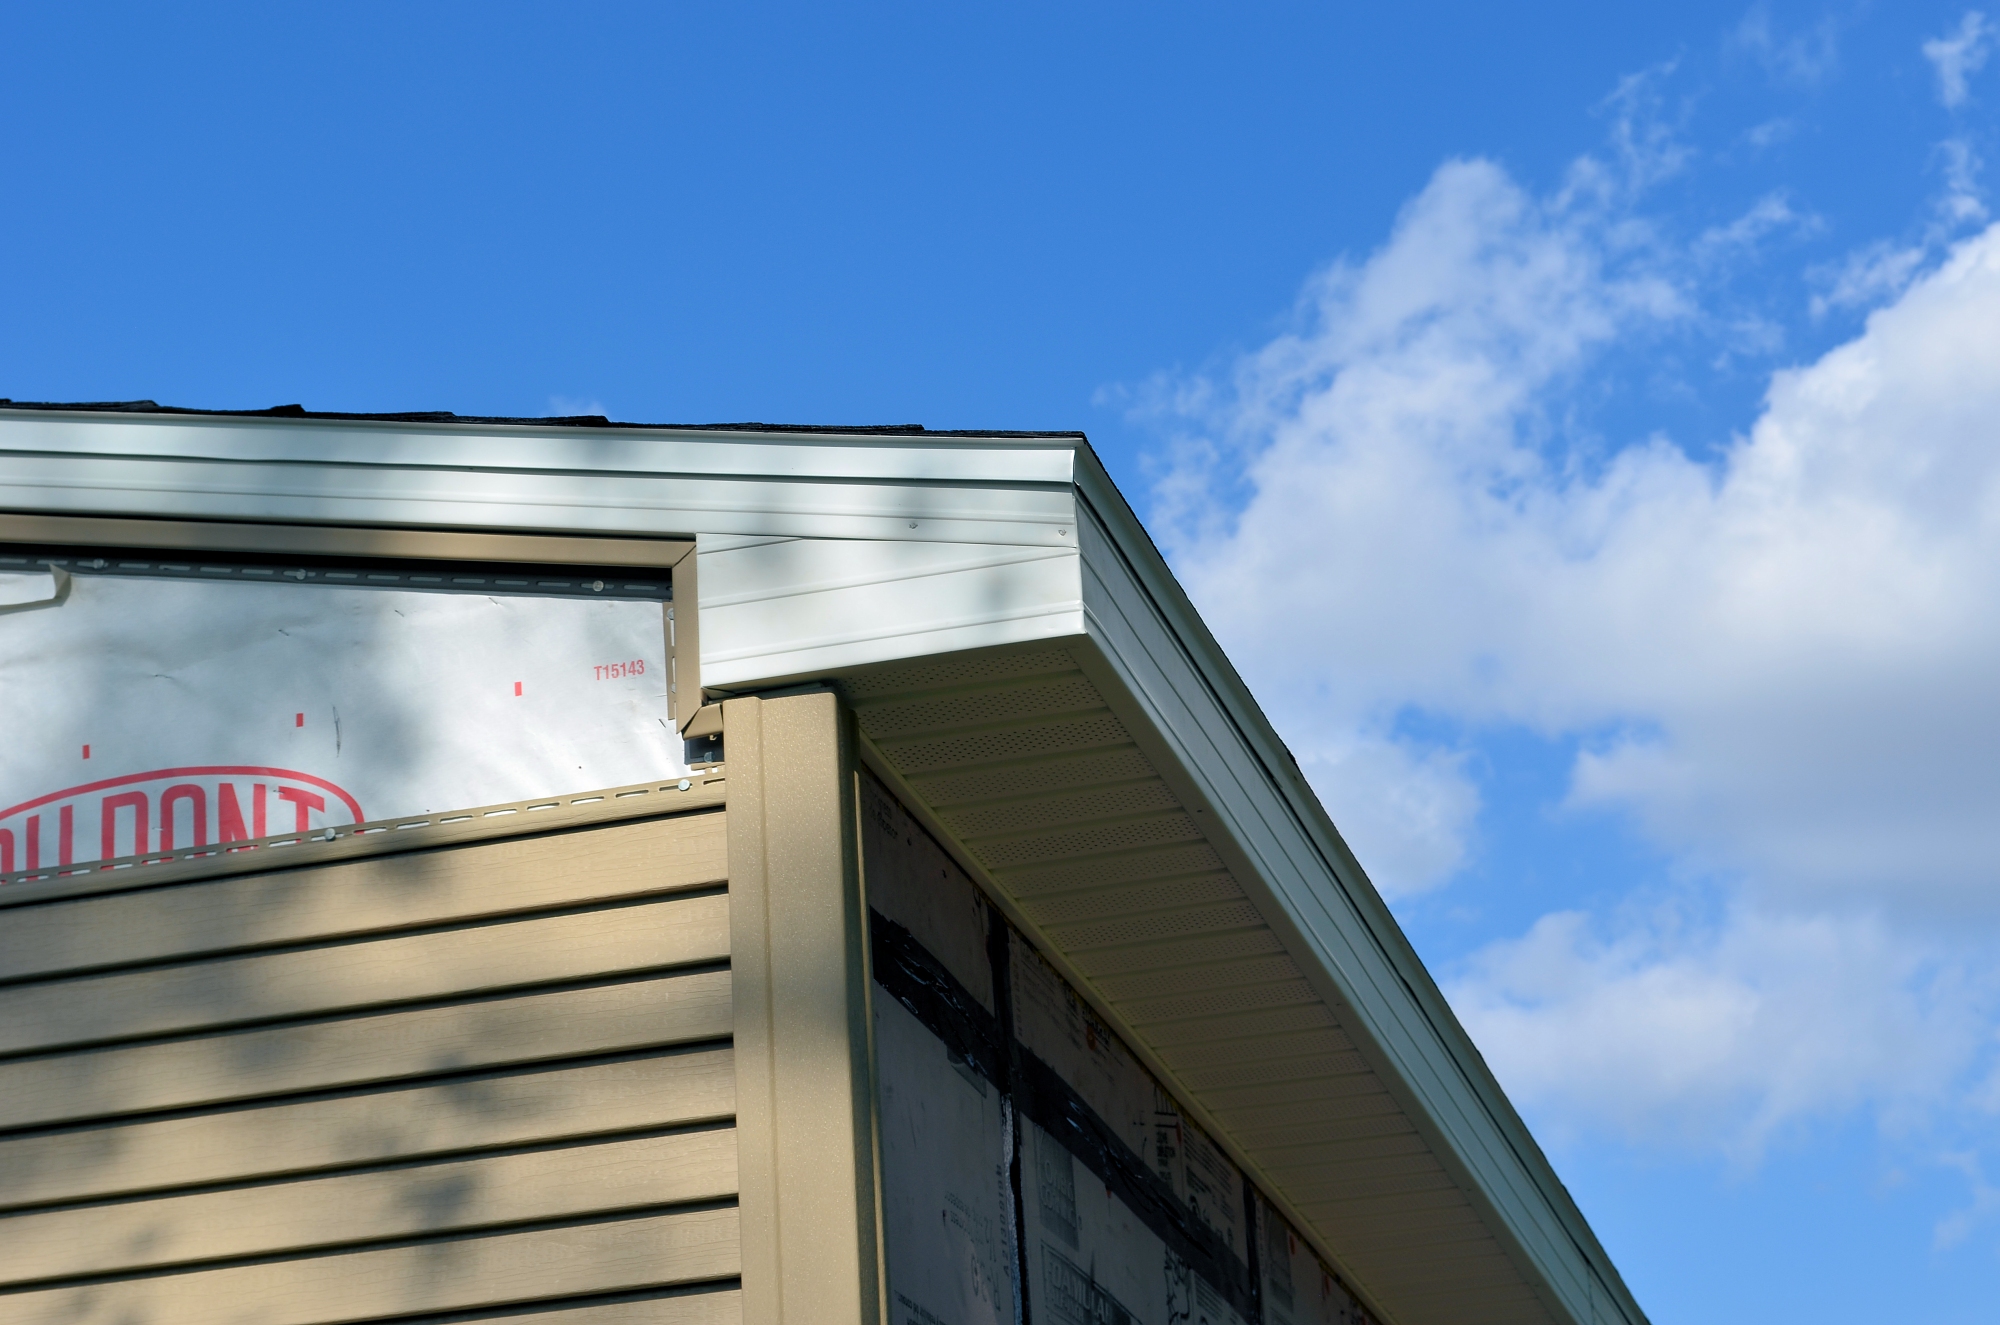
Soffits and flashing.
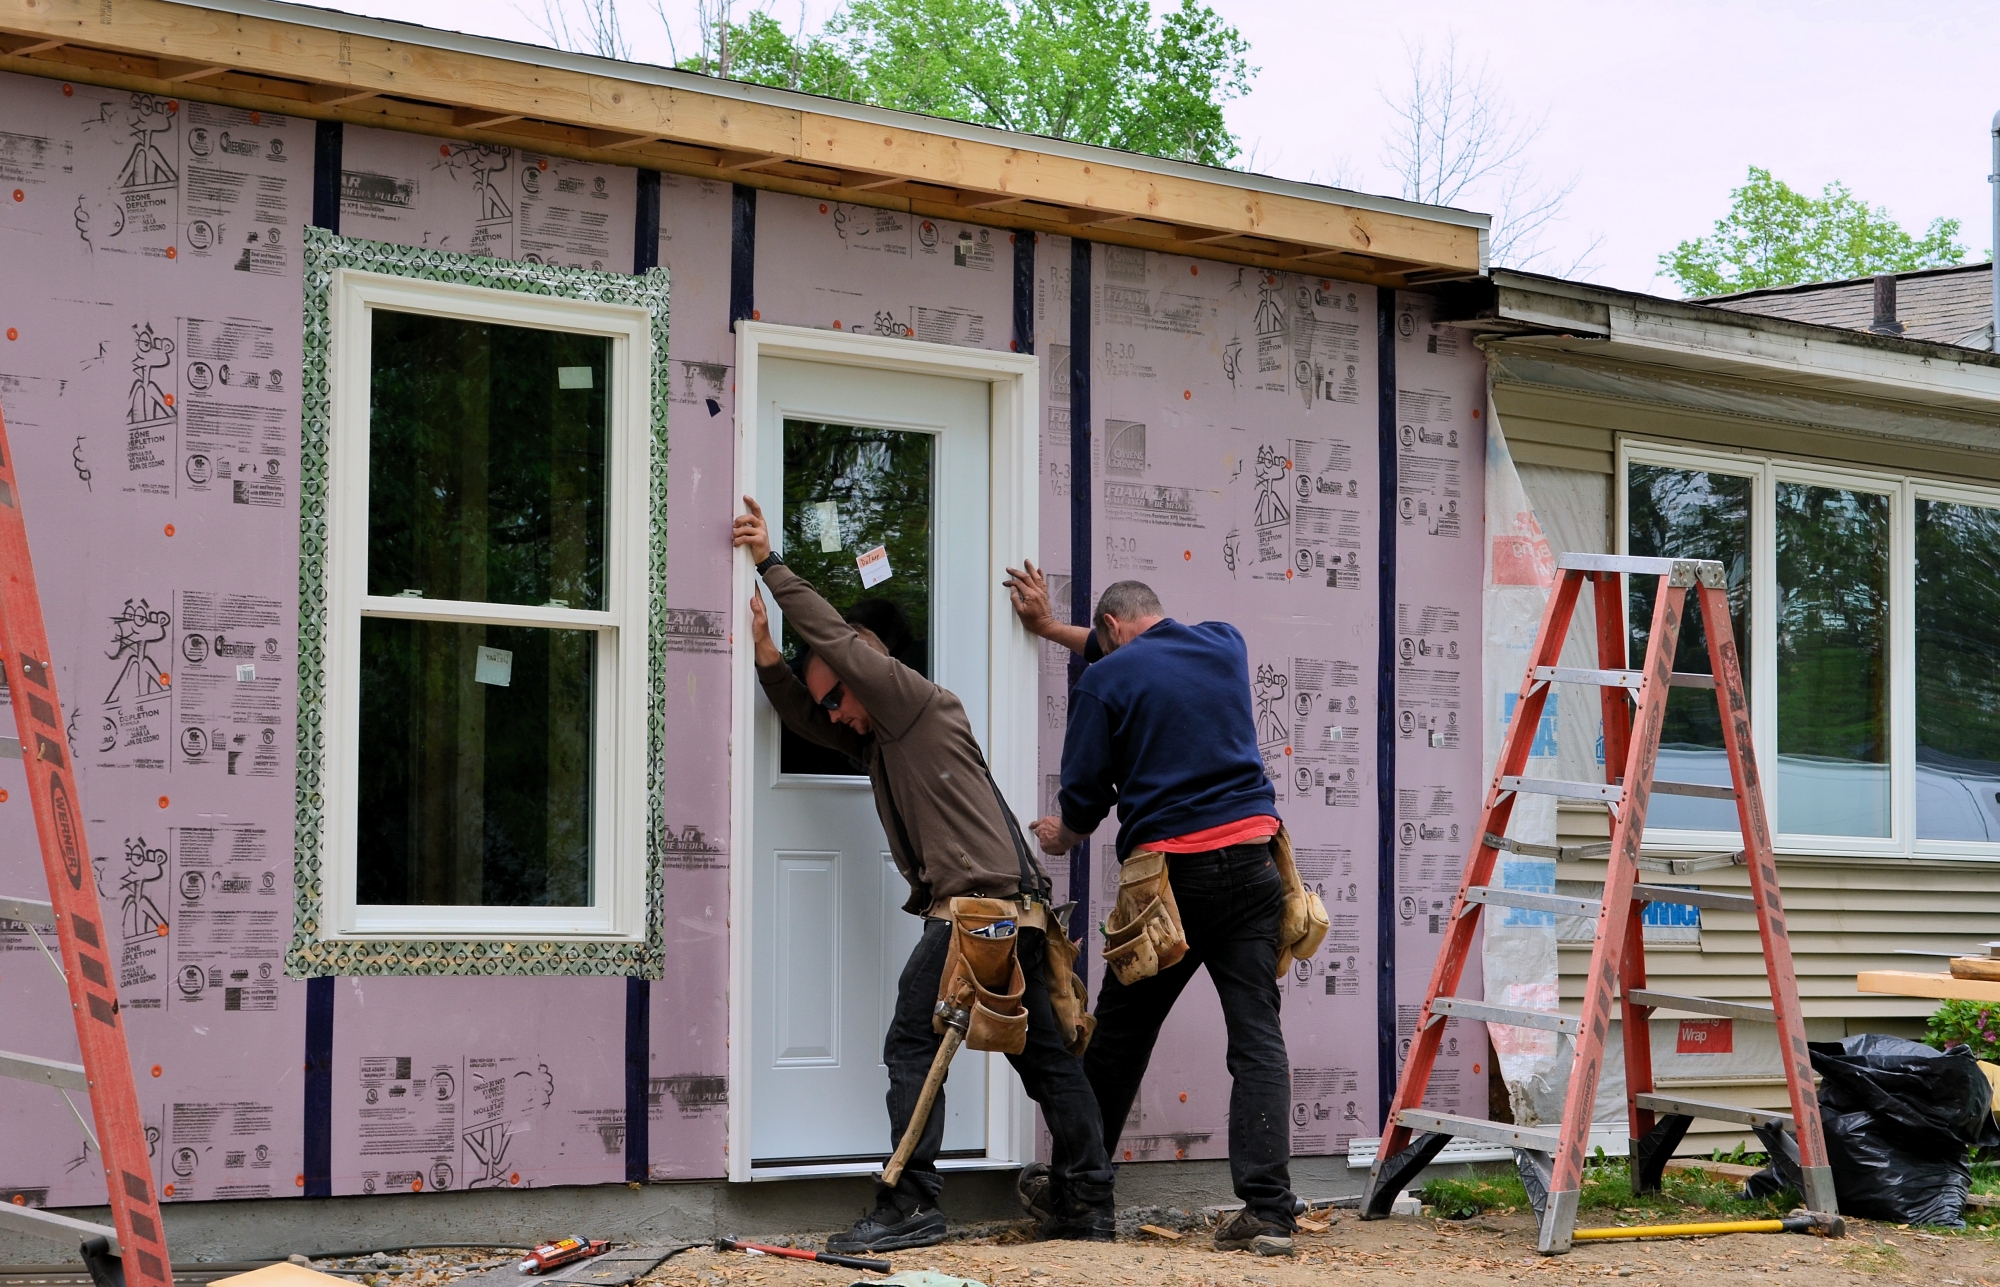
Moving inside, all of the new rooms are framed in. Just nine days ago, all we had was a concrete slab. Now we are completely under cover and have walls, a roof, partitions, doors, and windows.
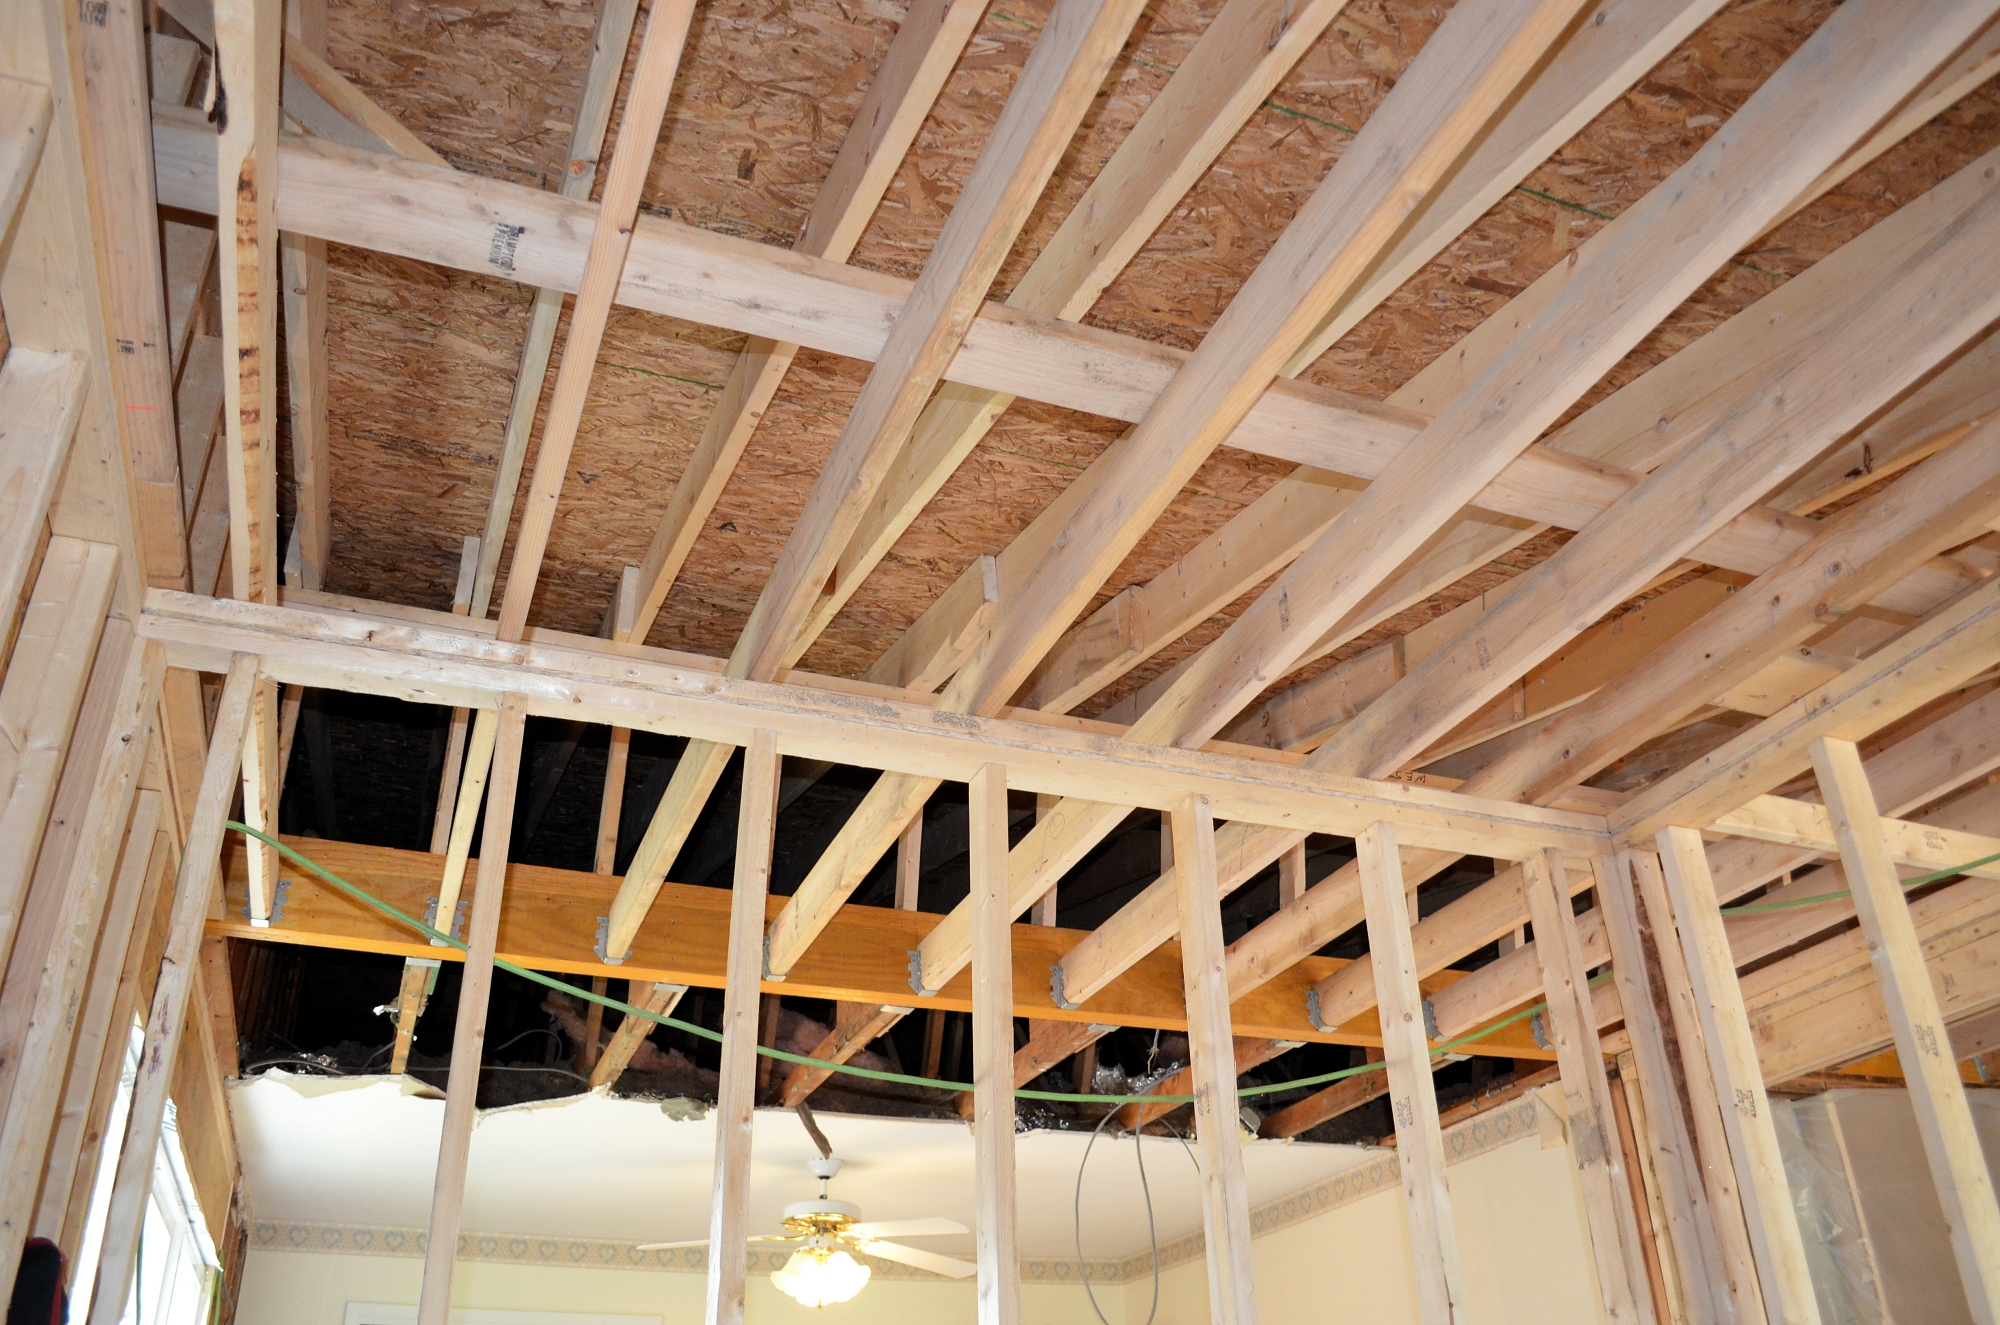
Complex framing for the new roof. The yellow VERSA-LAM beams replace a load-bearing wall.
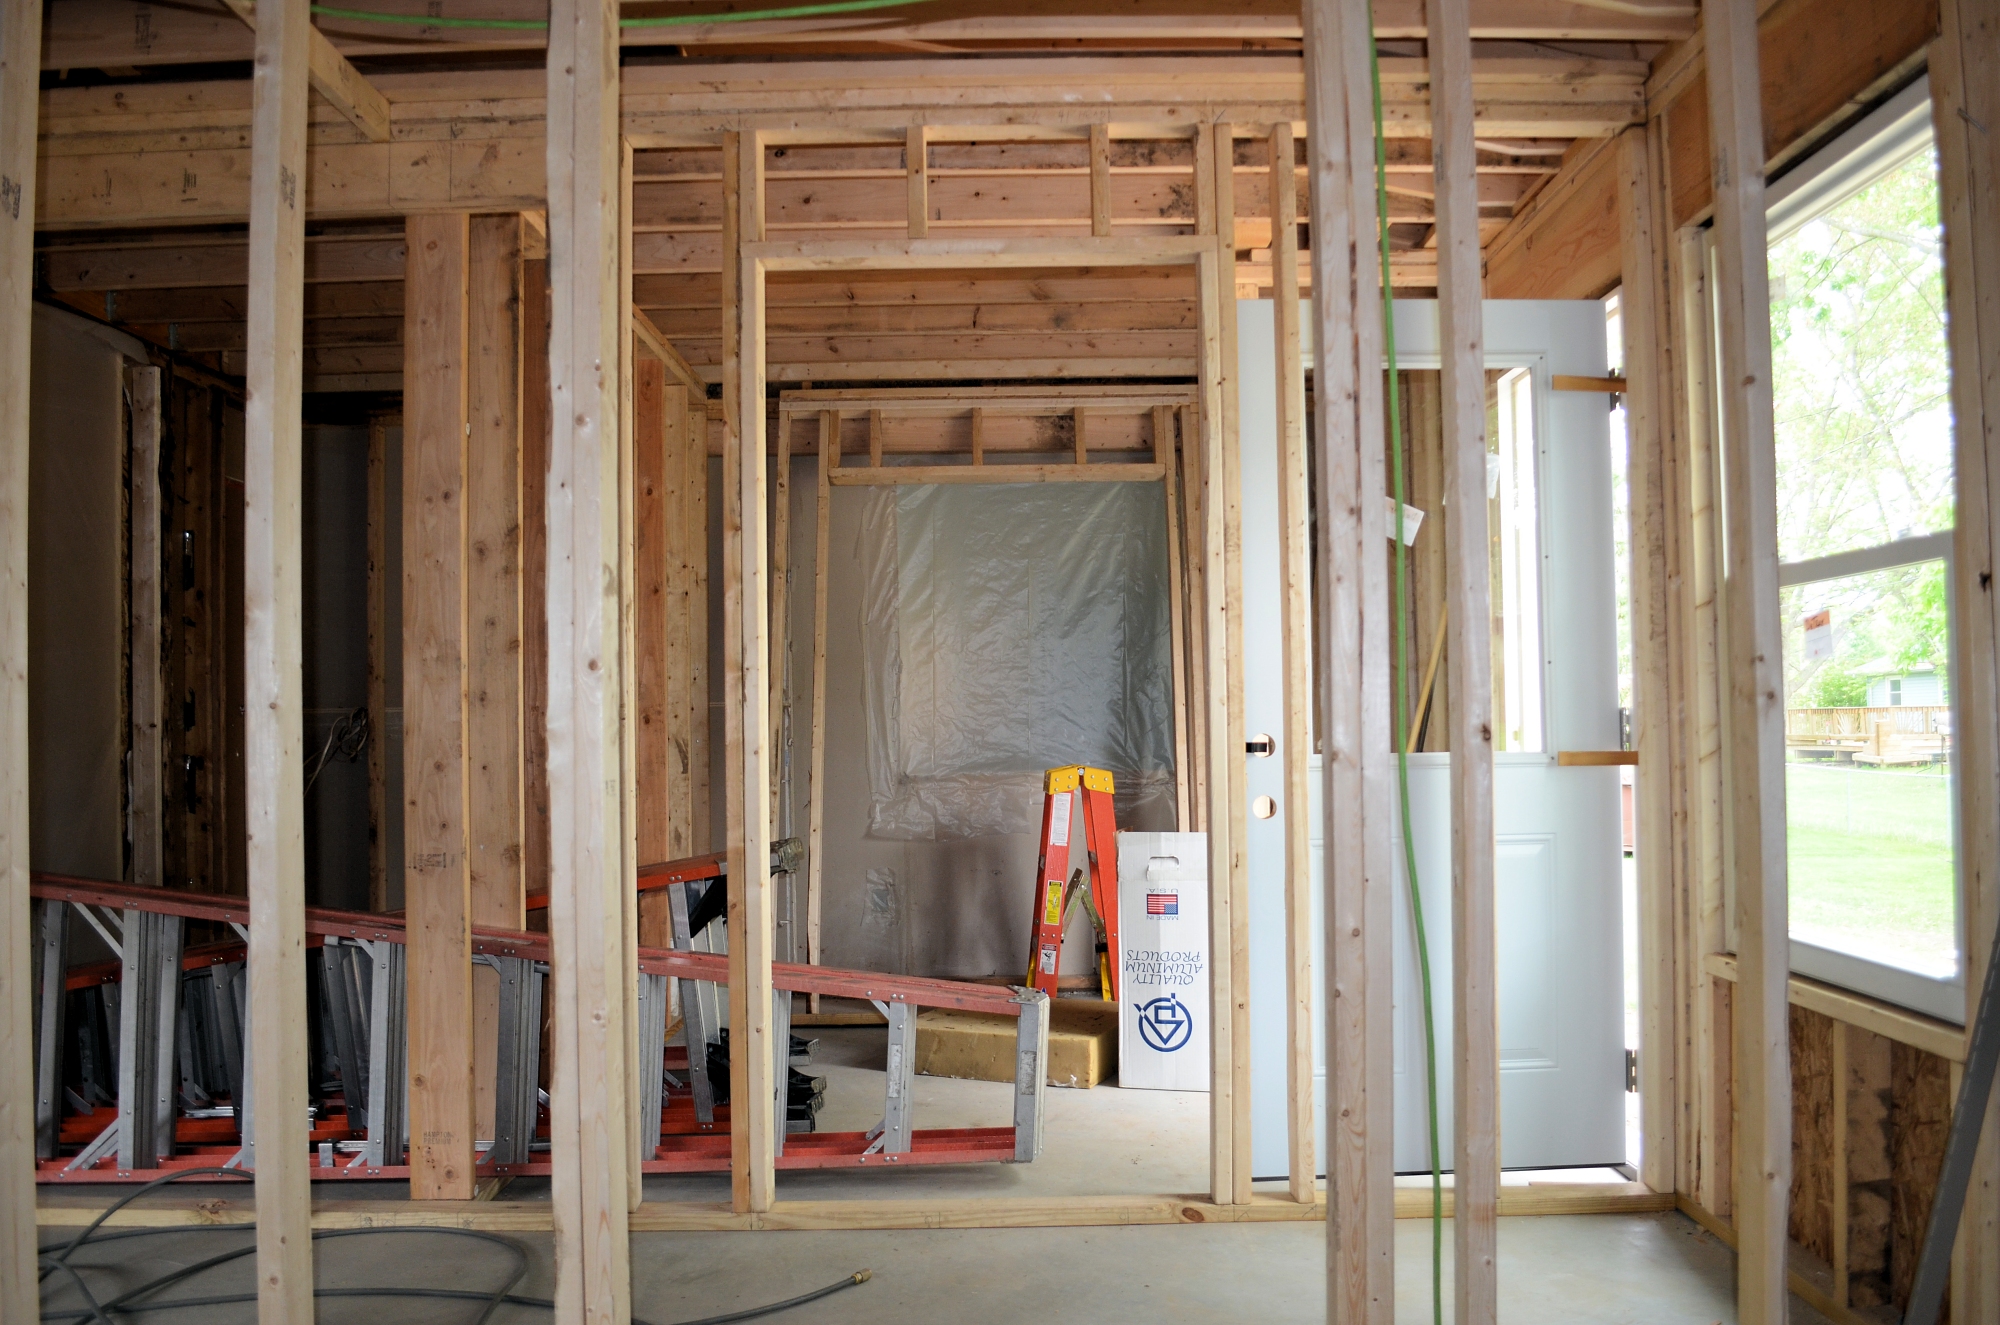
View from the new closet into the laundry room.
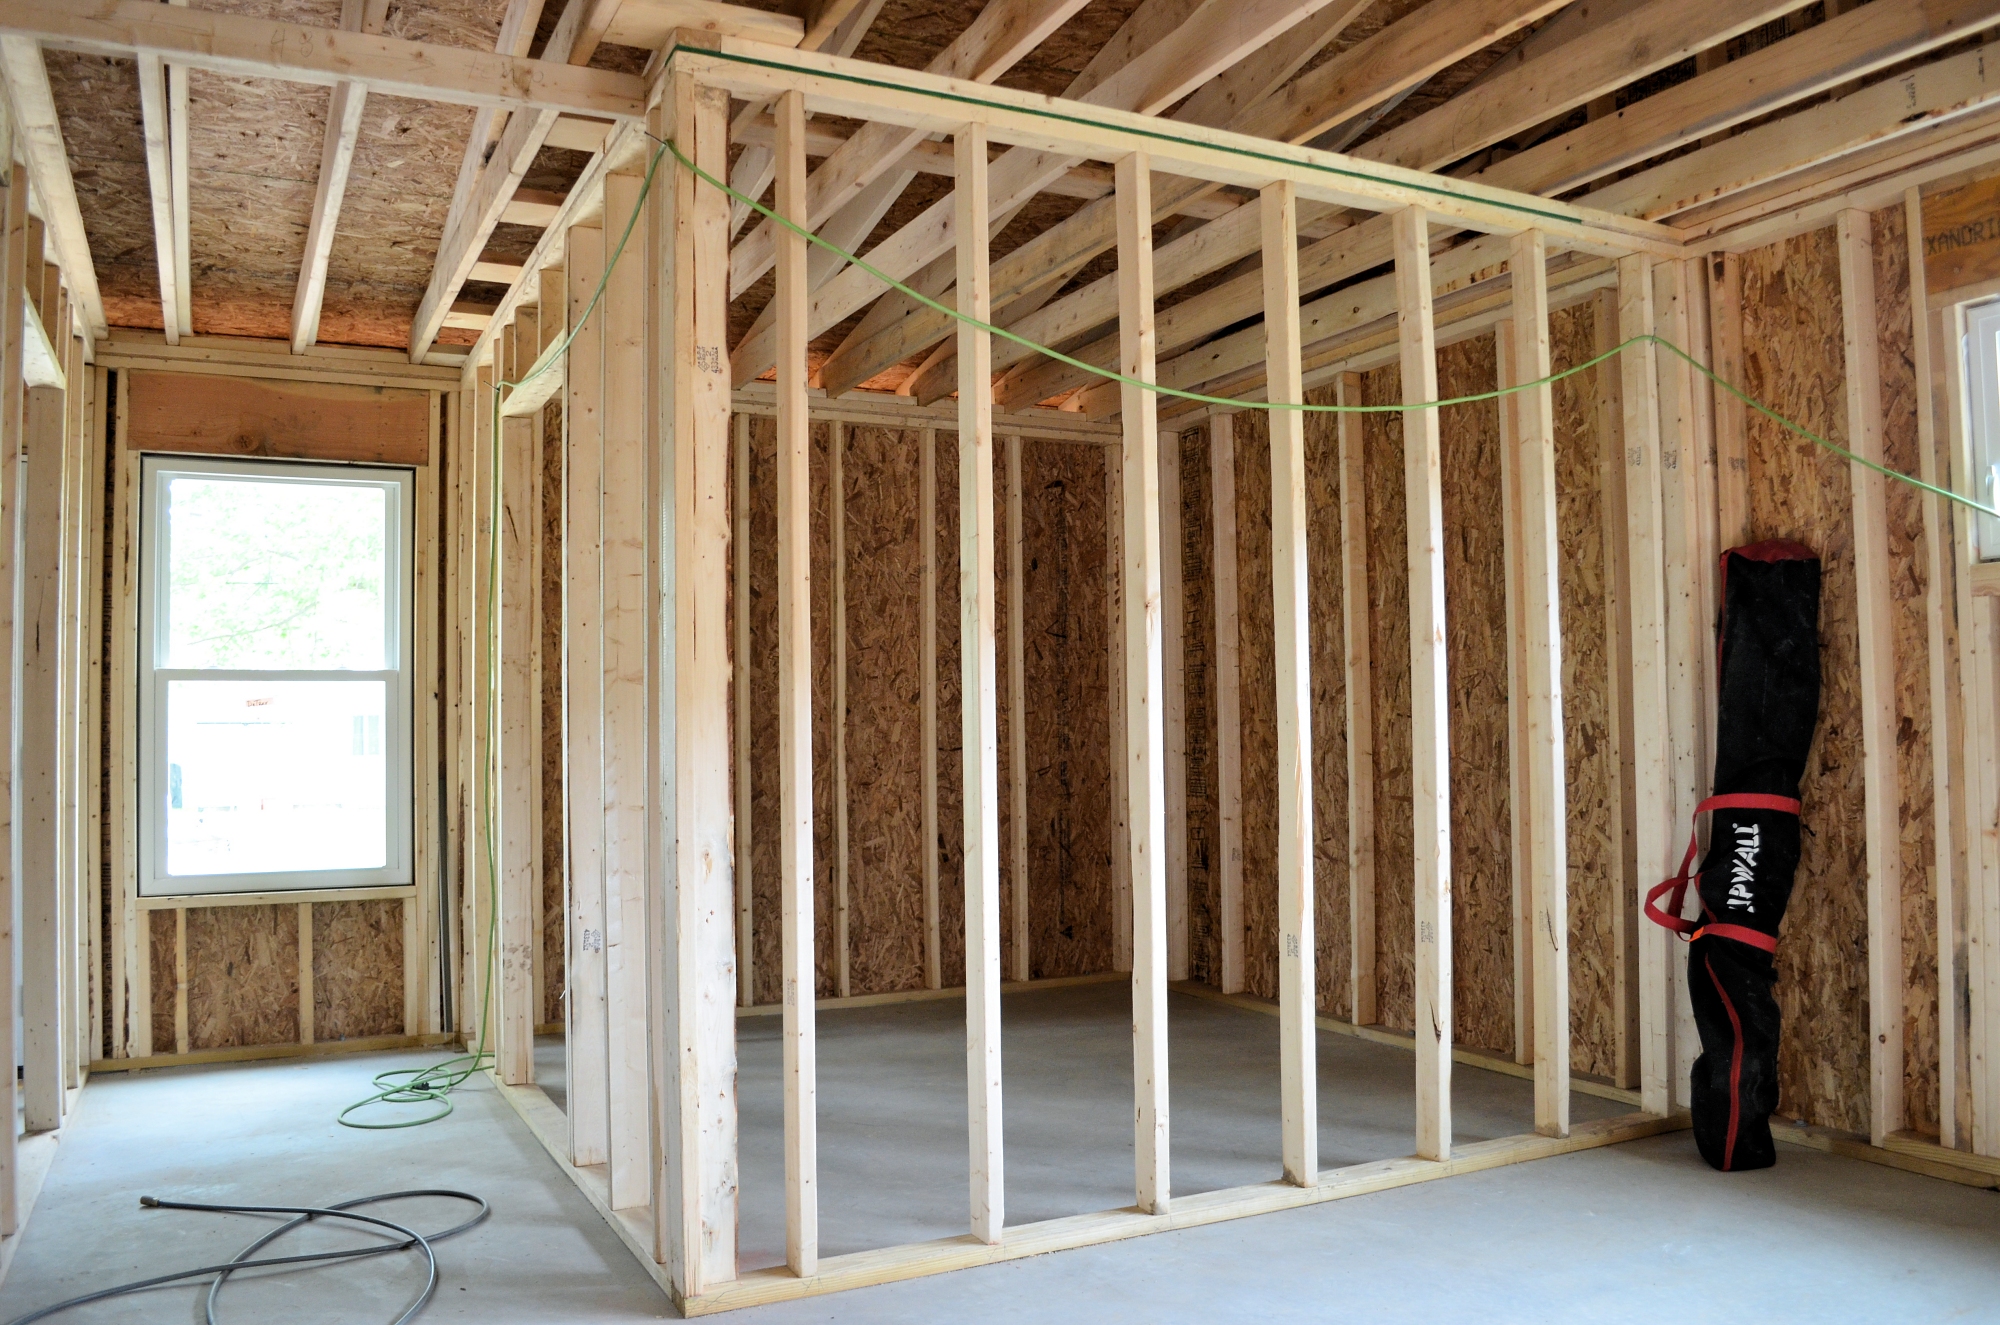
Our new walk-in closet seems larger than we expected, a good thing. We’re only a couple weeks away from choosing storage options for the closet.
Walk-in closet viewed from the bedroom door, with the new hallway on the left.
Remember that big pile of lumber in our back yard? It’s down to almost nothing. Most of it is now in the structure of our house.
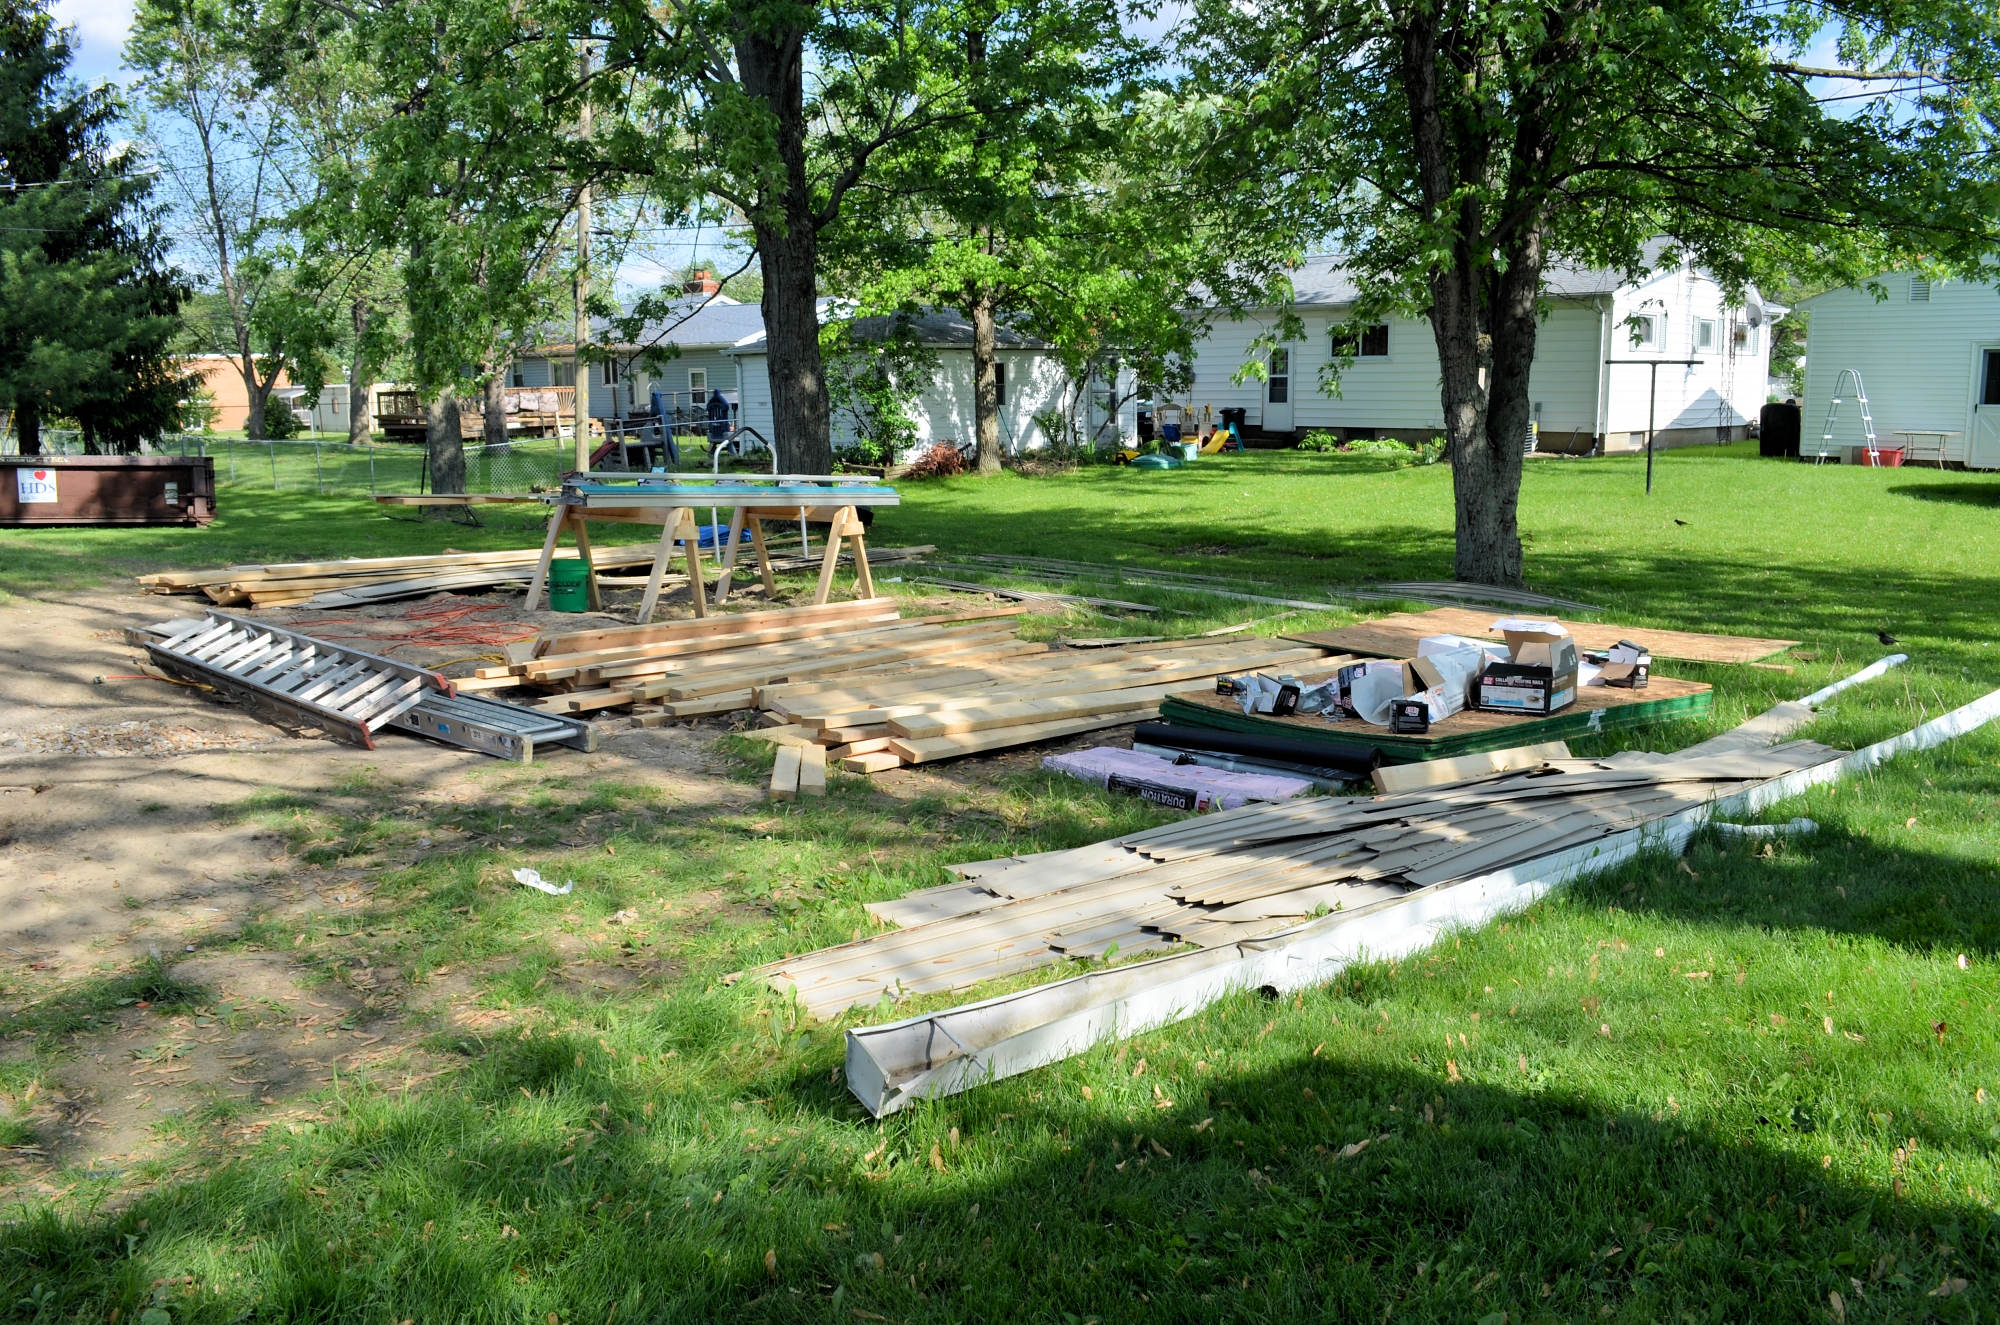
The lumber package dwindles to nothing.
We can’t say enough about the fine framing job done by Matt, Pat, Matthew, and Randy. Thanks, guys!